DIY Board + Batten Accent Wall
Disclaimer: This post contains affiliate links*
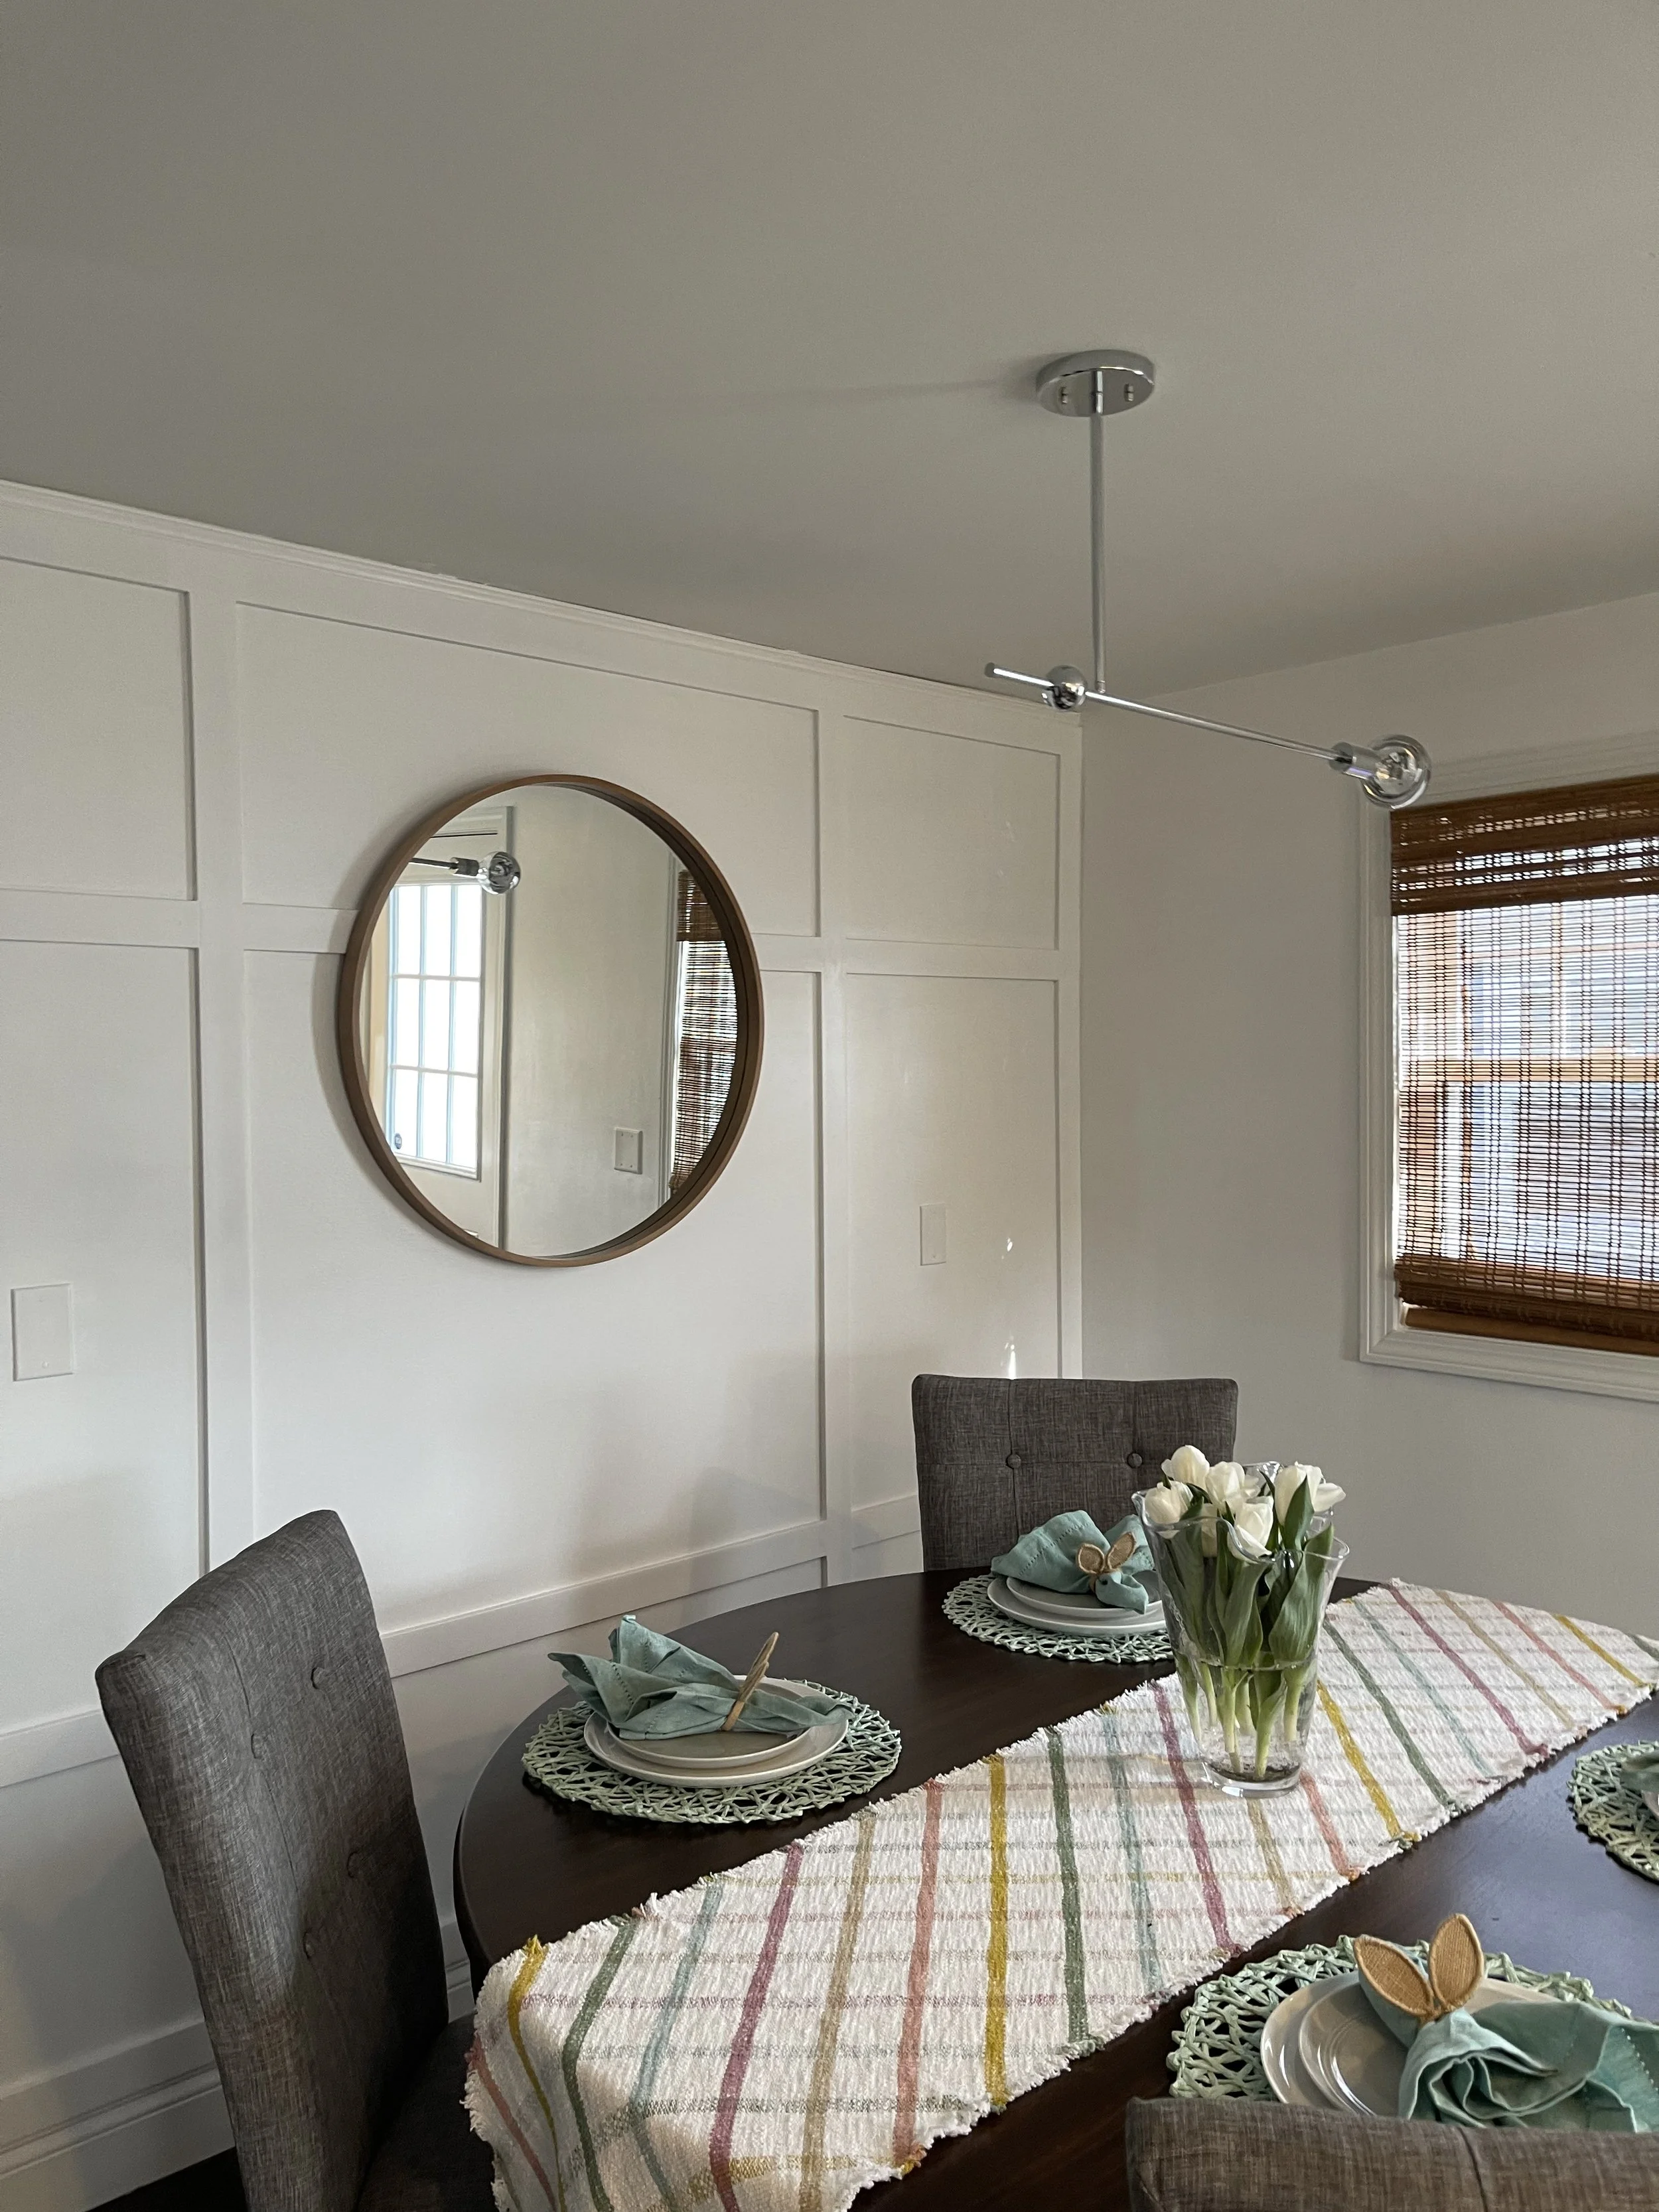
I am so excited to share this easy upgrade to any boring wall! I chose to do the accent wall in our eat in kitchen/dining area in Spring 2021 right before Easter. I knew I wanted a larger grid pattern as opposed to the popular smaller squares because of the size of the area being on the smaller side. This was my first interior DIY project and it really gave me the confidence to pick up more tools and tackle bigger projects!
Let’s get started…
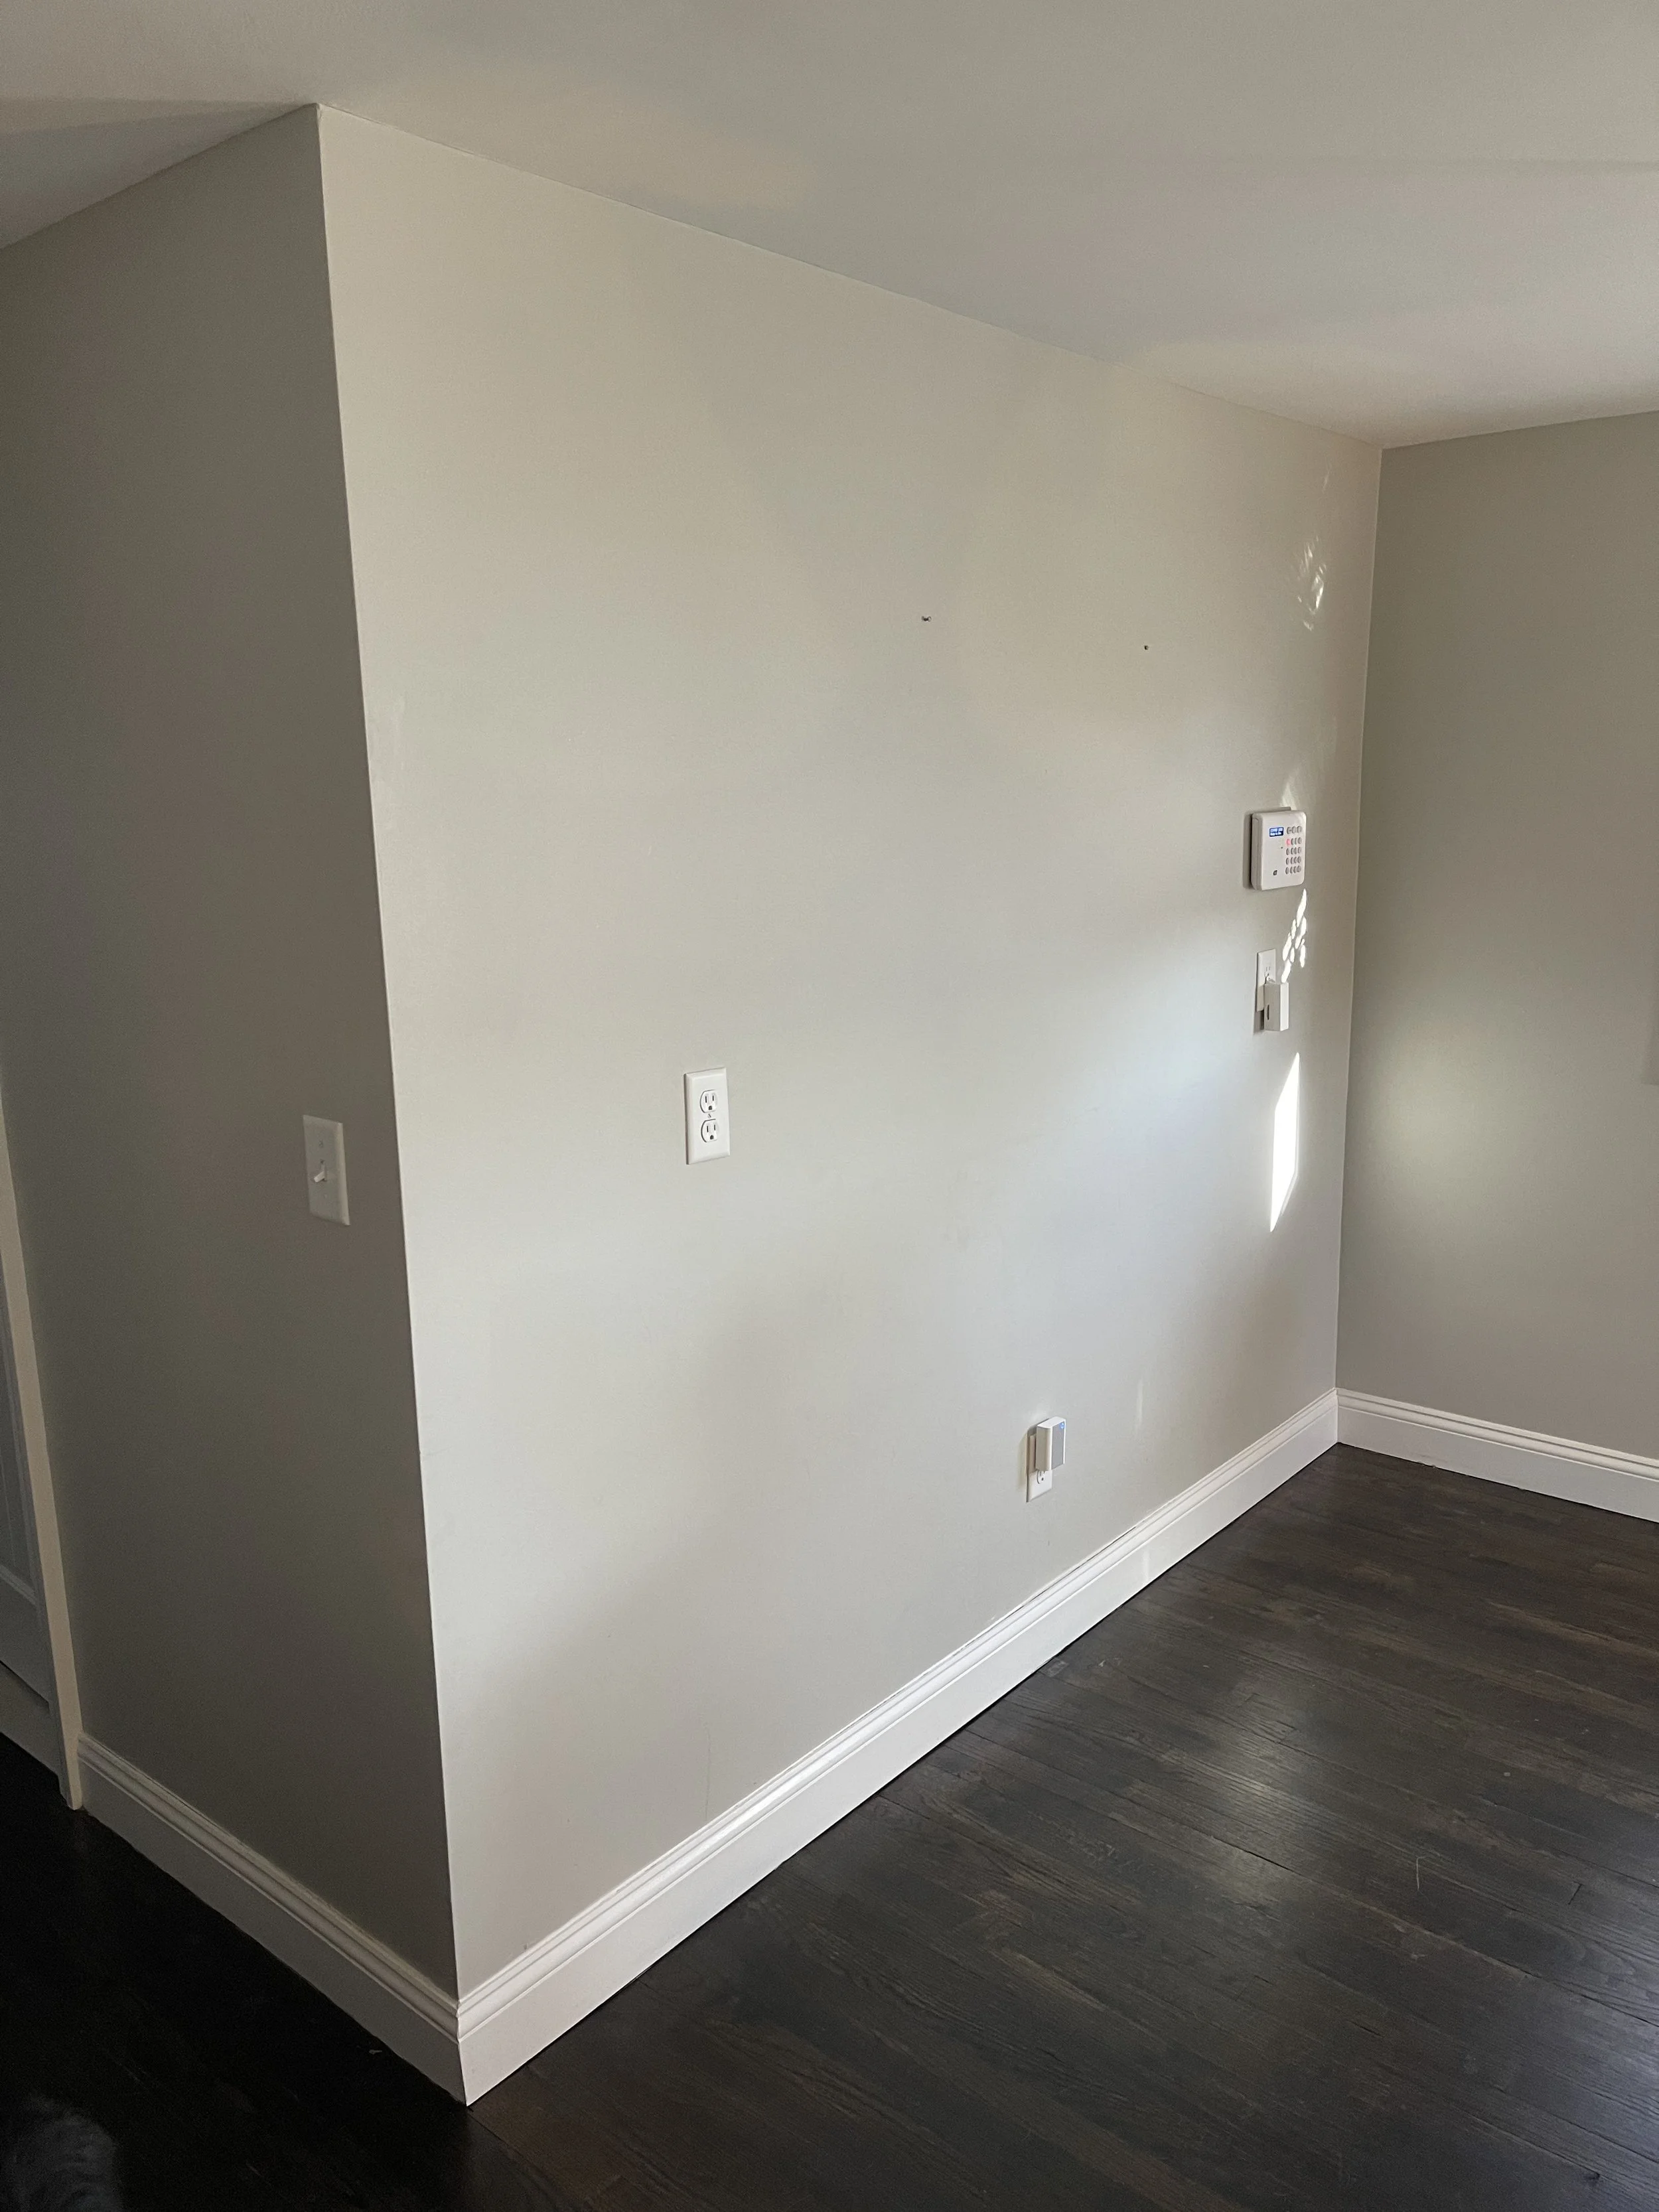
Before!
First, I took measurements of the wall to calculate how many boards were needed for the pattern I wanted to achieve. This is important so not to waste materials but also if you are having the hardware store cut the materials for you.
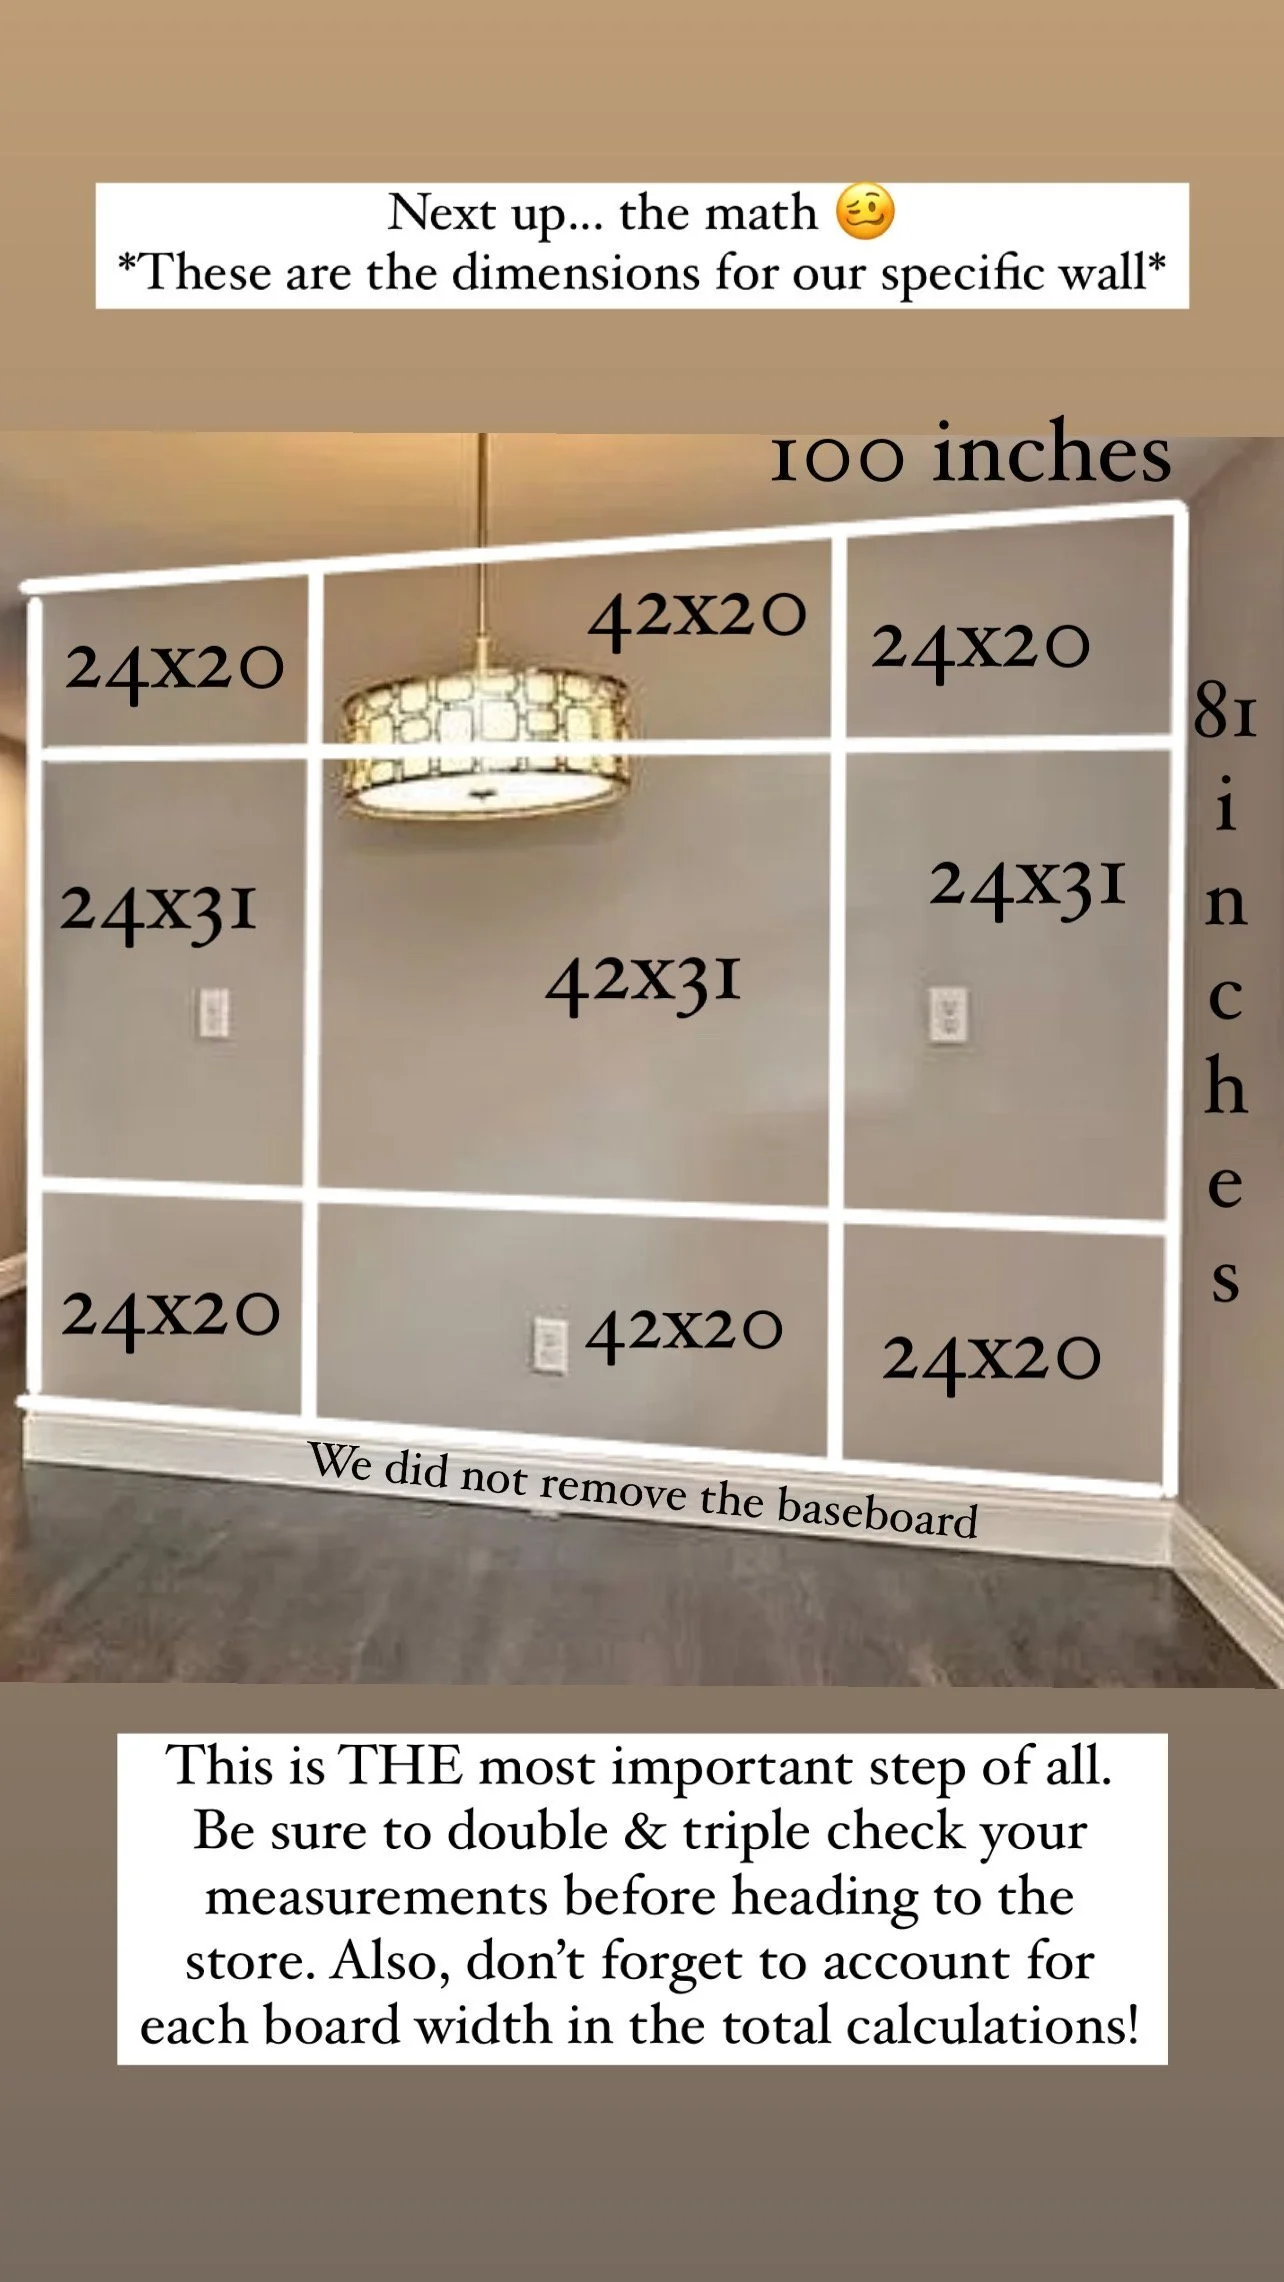
As they say “measure twice, cut once”
Next, I headed to my local Lowe’s and grabbed the materials needed. I had the associate cut the boards and moulding to my specific lengths in store for convenience.
Materials:
1x3x8 Primed MDF Boards
Ceiling Crown Moulding
Caulking Gun
Liquid Nails Adhesive
Alex flex latex caulking
Tape Measure
Spackling
120 grit sandpaper
Paint and painting materials
Next up, the install!
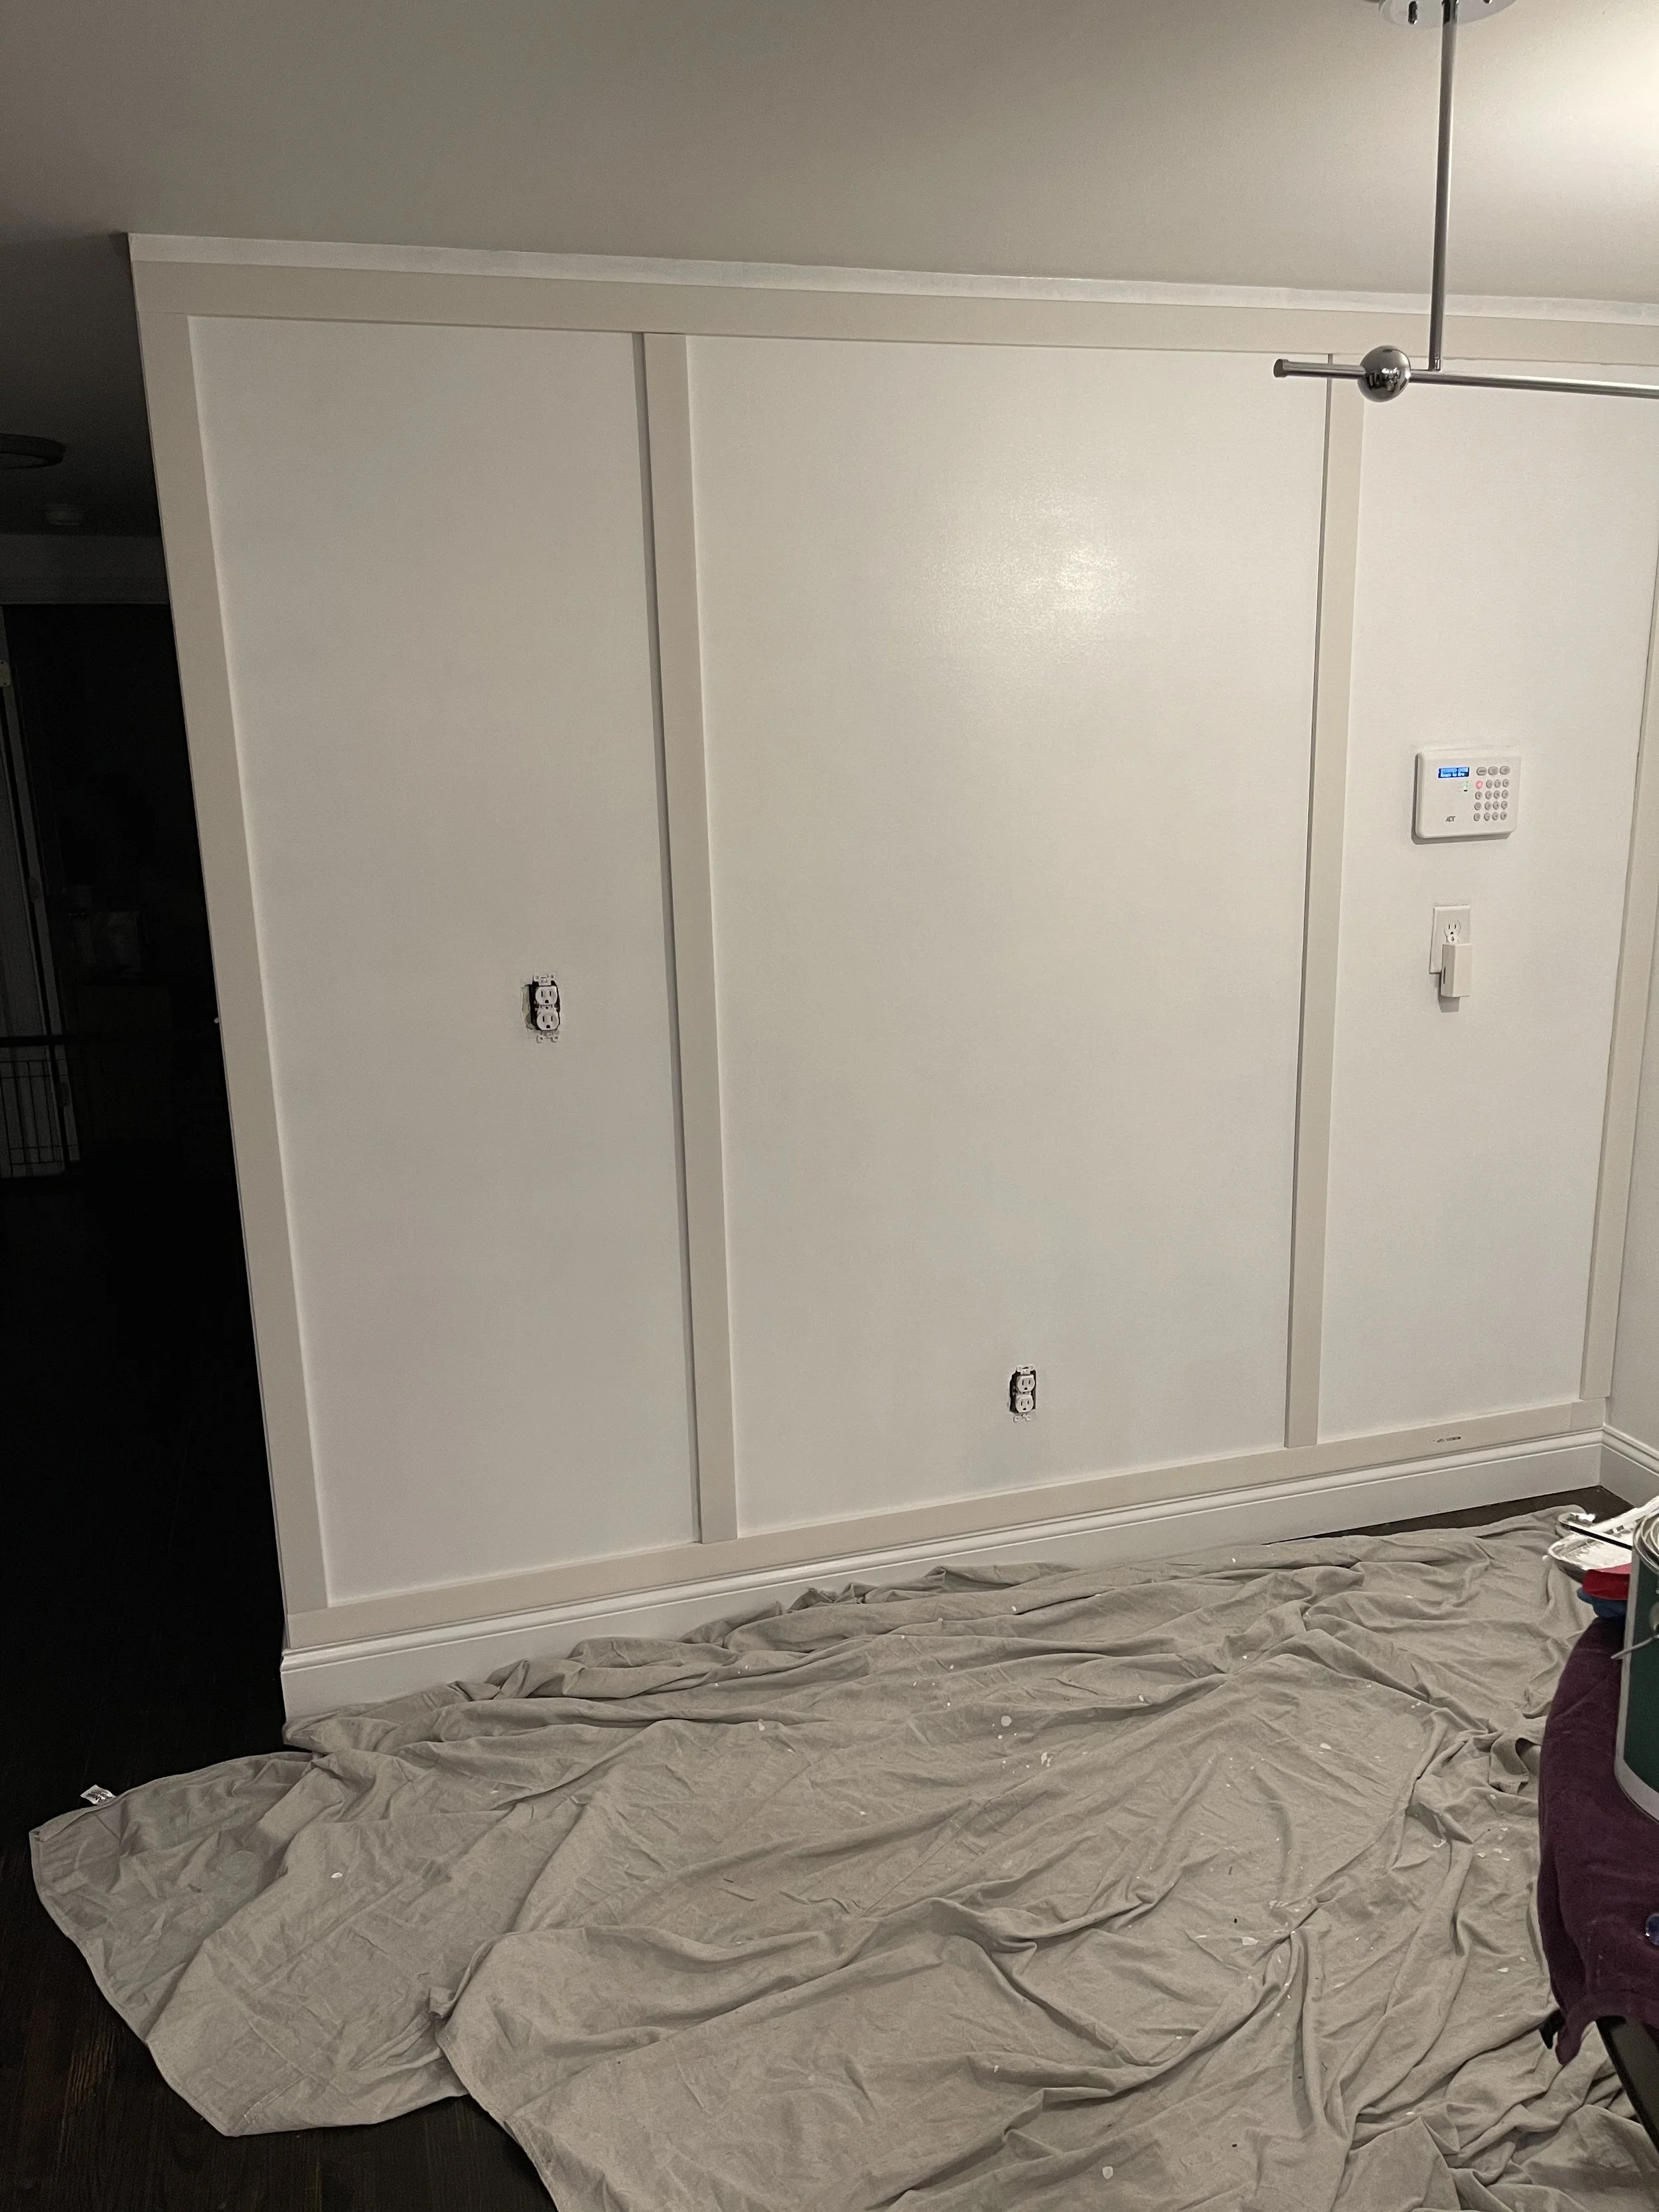
I started with the outer frame first and then attached the vertical boards. I did this by adhering liquid nails on the back, leveling the boards in place and nailing them in (about 3-4 nails per board)
Note: prior to starting the install, I gave the wall a damp cloth cleaning an 2 coats of Benjamin Moore Swiss Coffee at 75% strength- semi gloss finish.
Horizontal boards came next! These were a little tougher to space and level as you will discover most walls are not perfectly symmetrical! At this point, I had to step back and admire my hard work and wait 24 hours for the adhesive to fully dry.
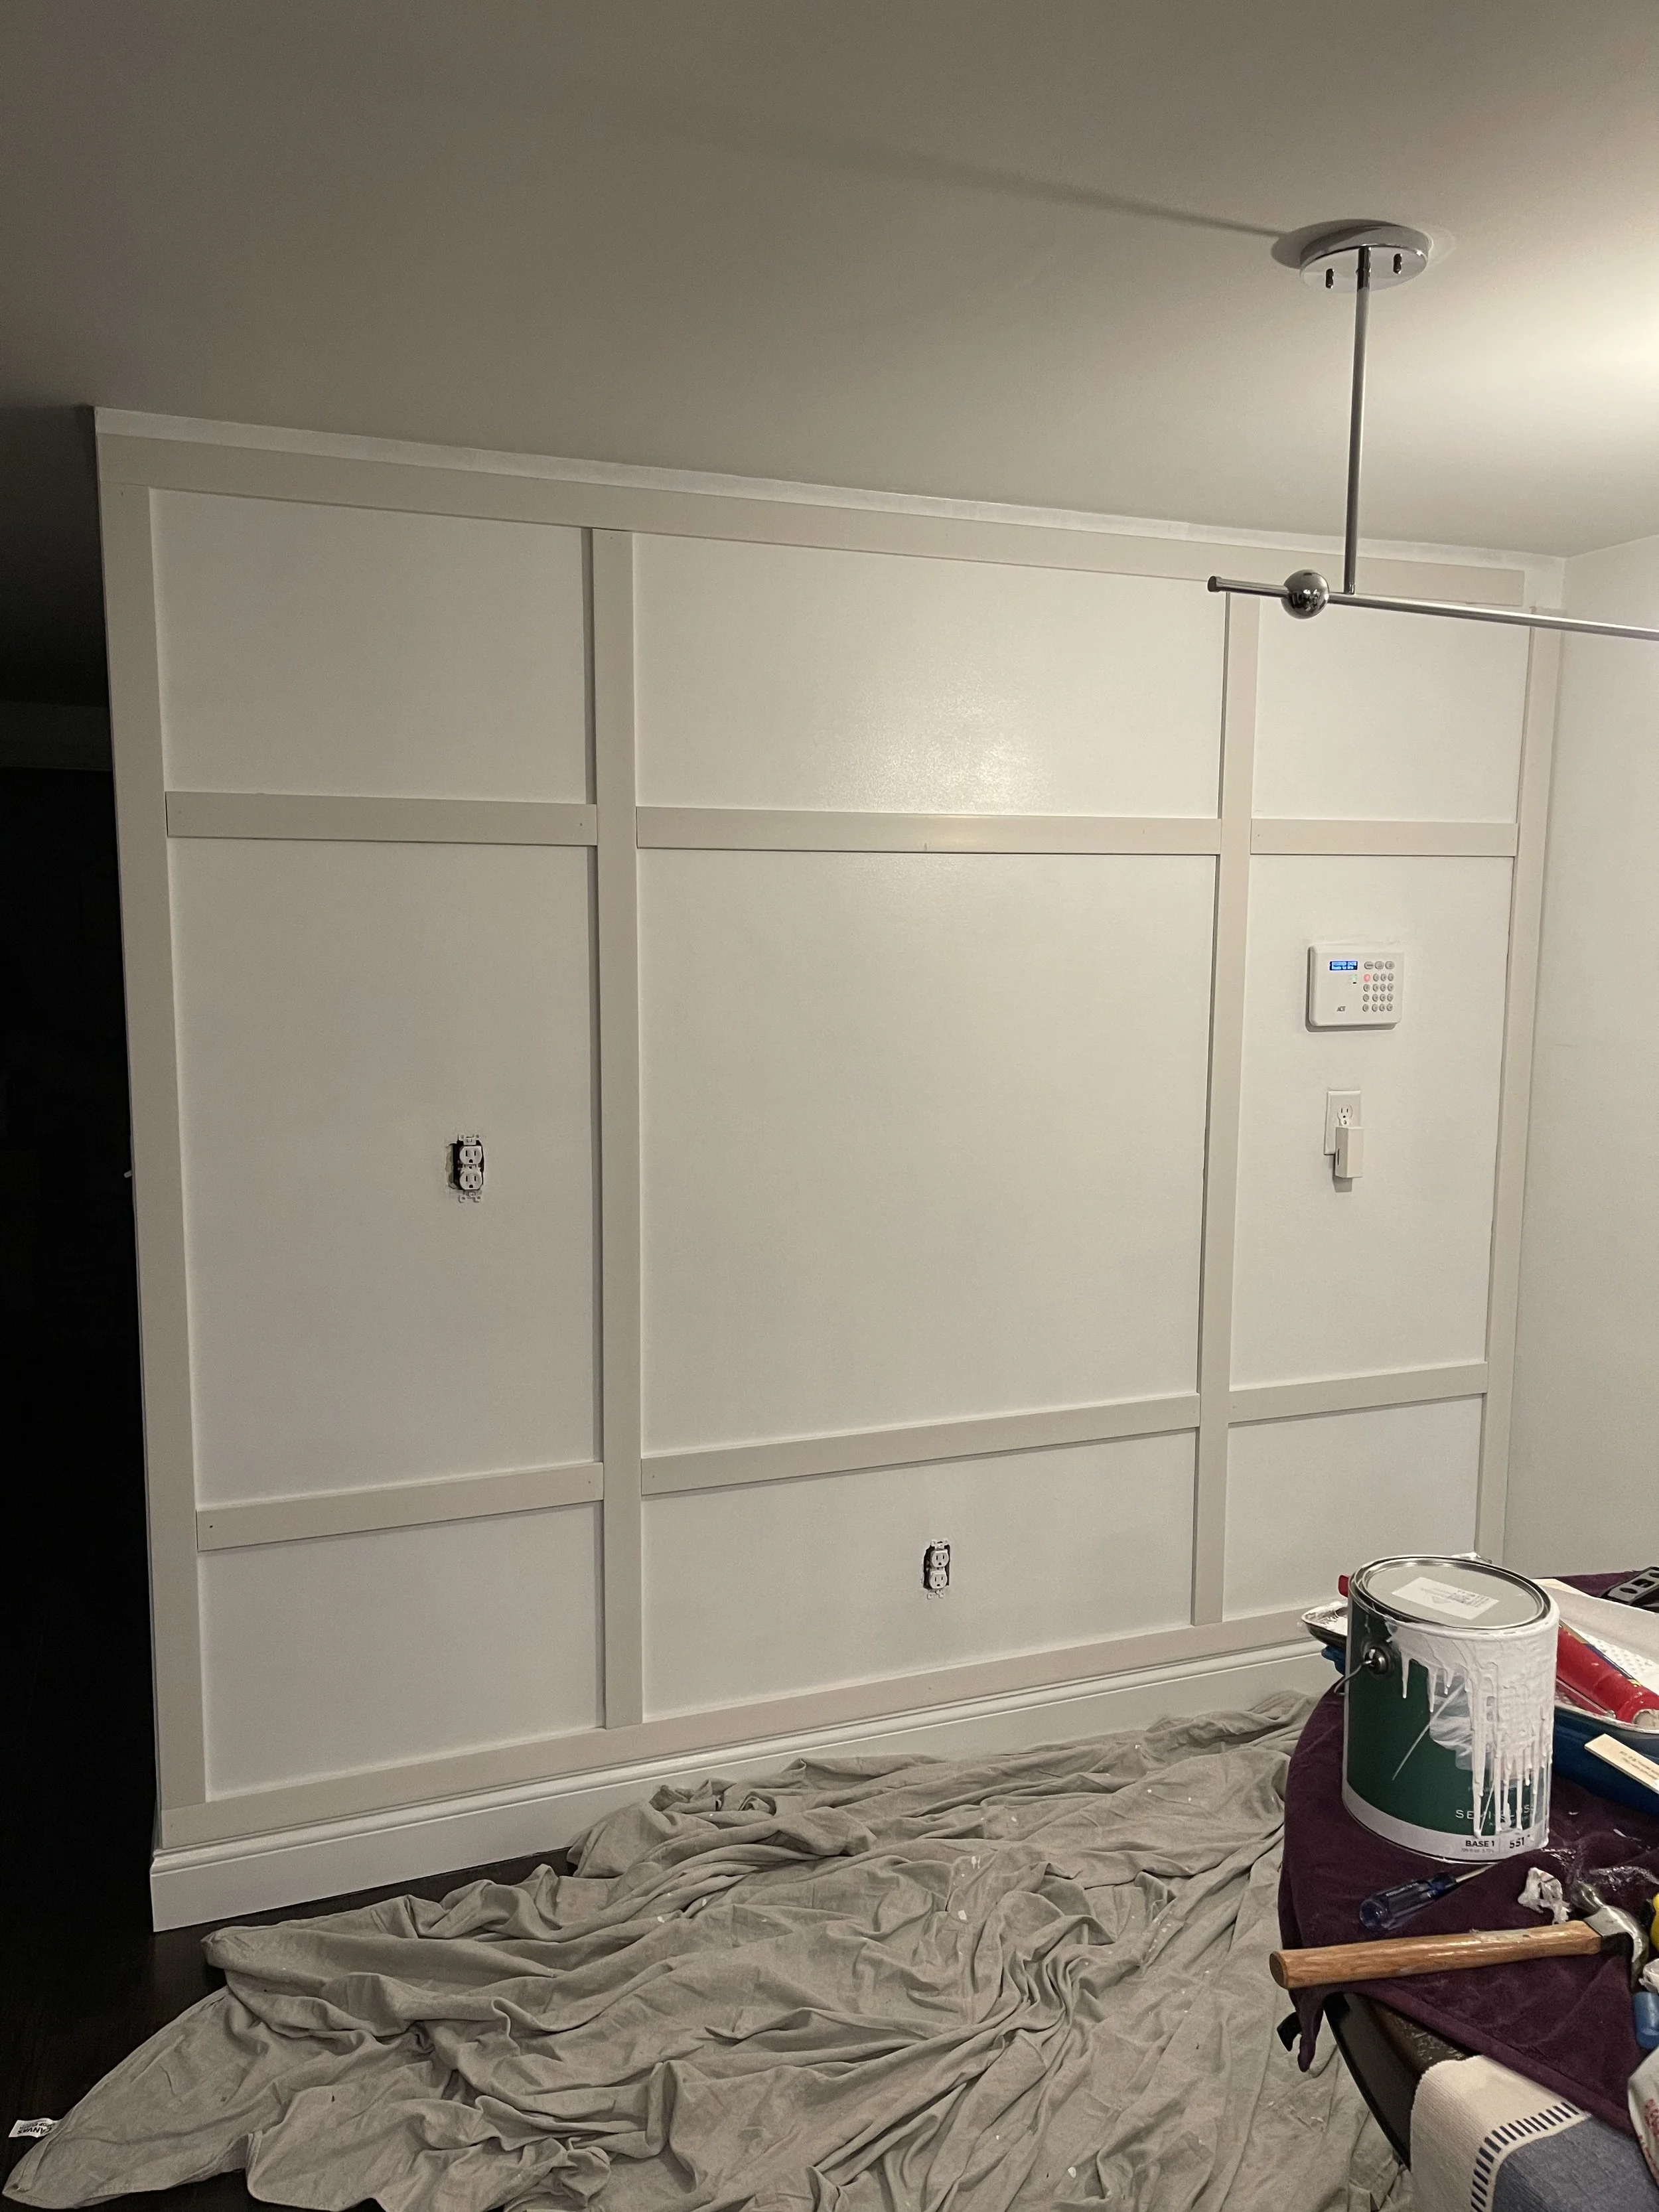
The next day I went back and spackled all of the nail holes and seams, and caulked around every panel including the outer frame and ceiling trim.
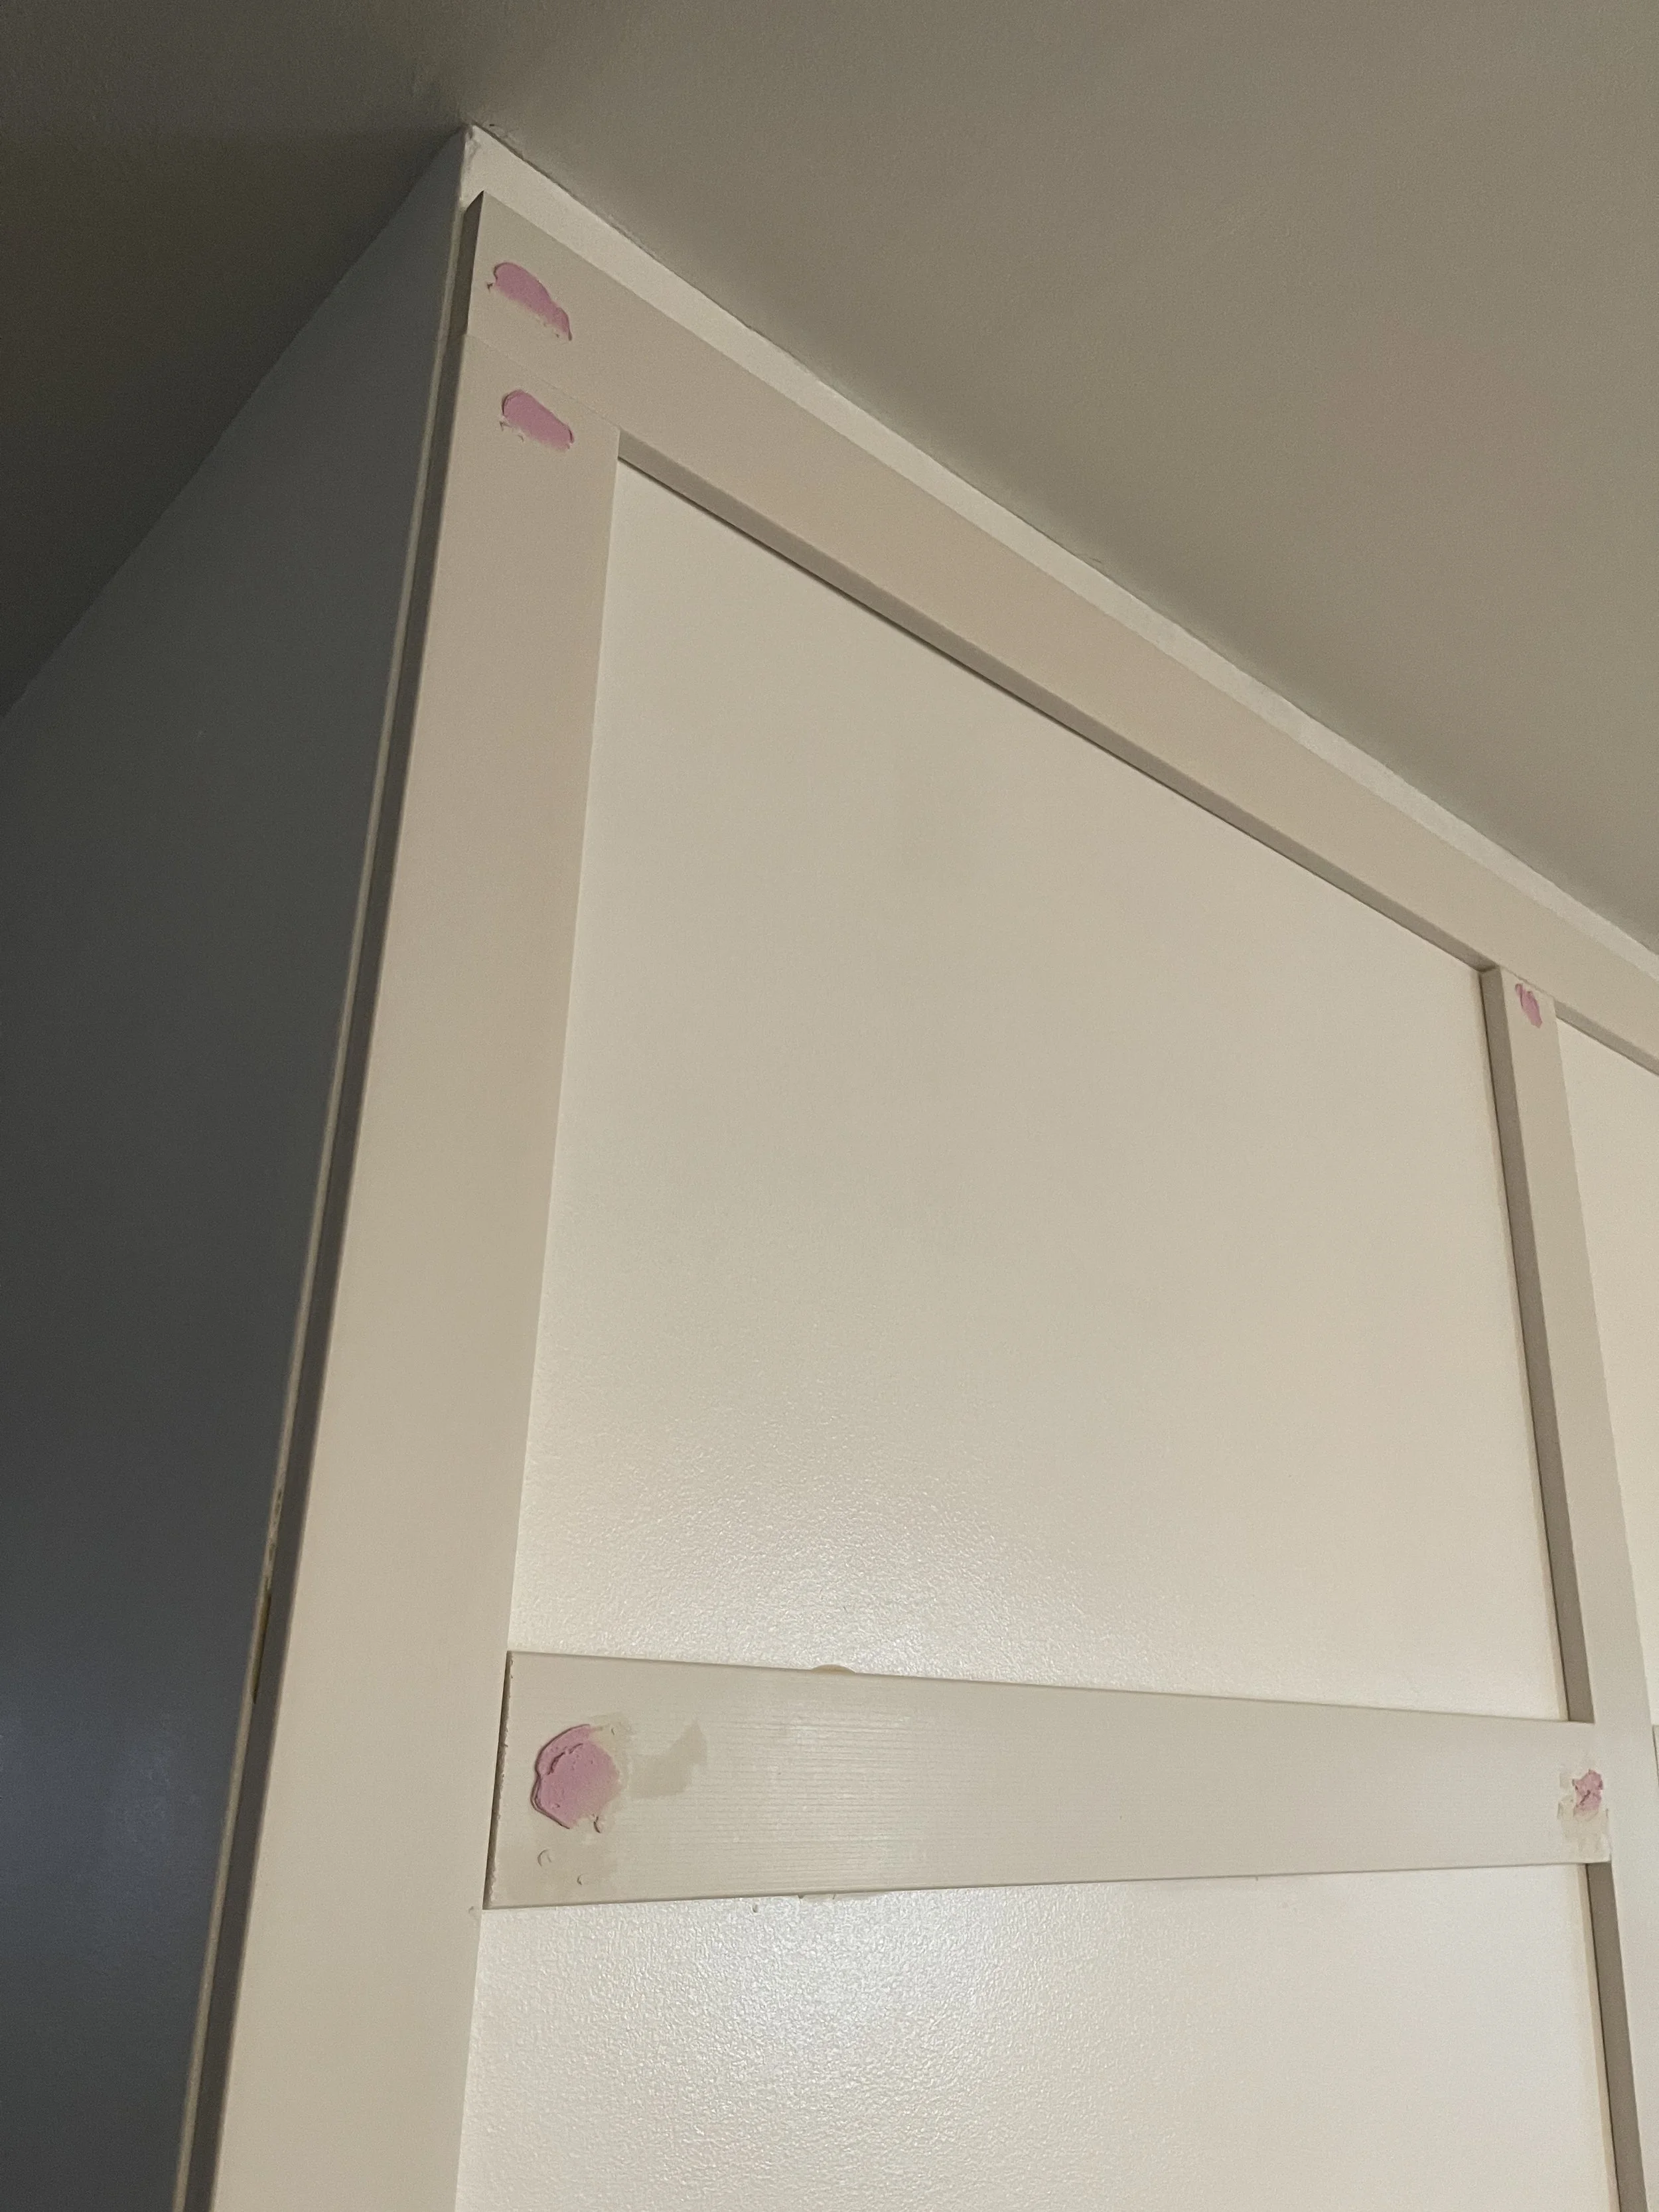
TIP: If you find there are some gaps as we had since our walls were not perfectly straight, there is a magical product called backer rod that is cheap and easy to use. This helps fill gaps that are too big for caulk to seal but allows you to still caulk over once the gap is filled.
Lastly came the sanding, another damp cloth wipe, and top coat of paint!
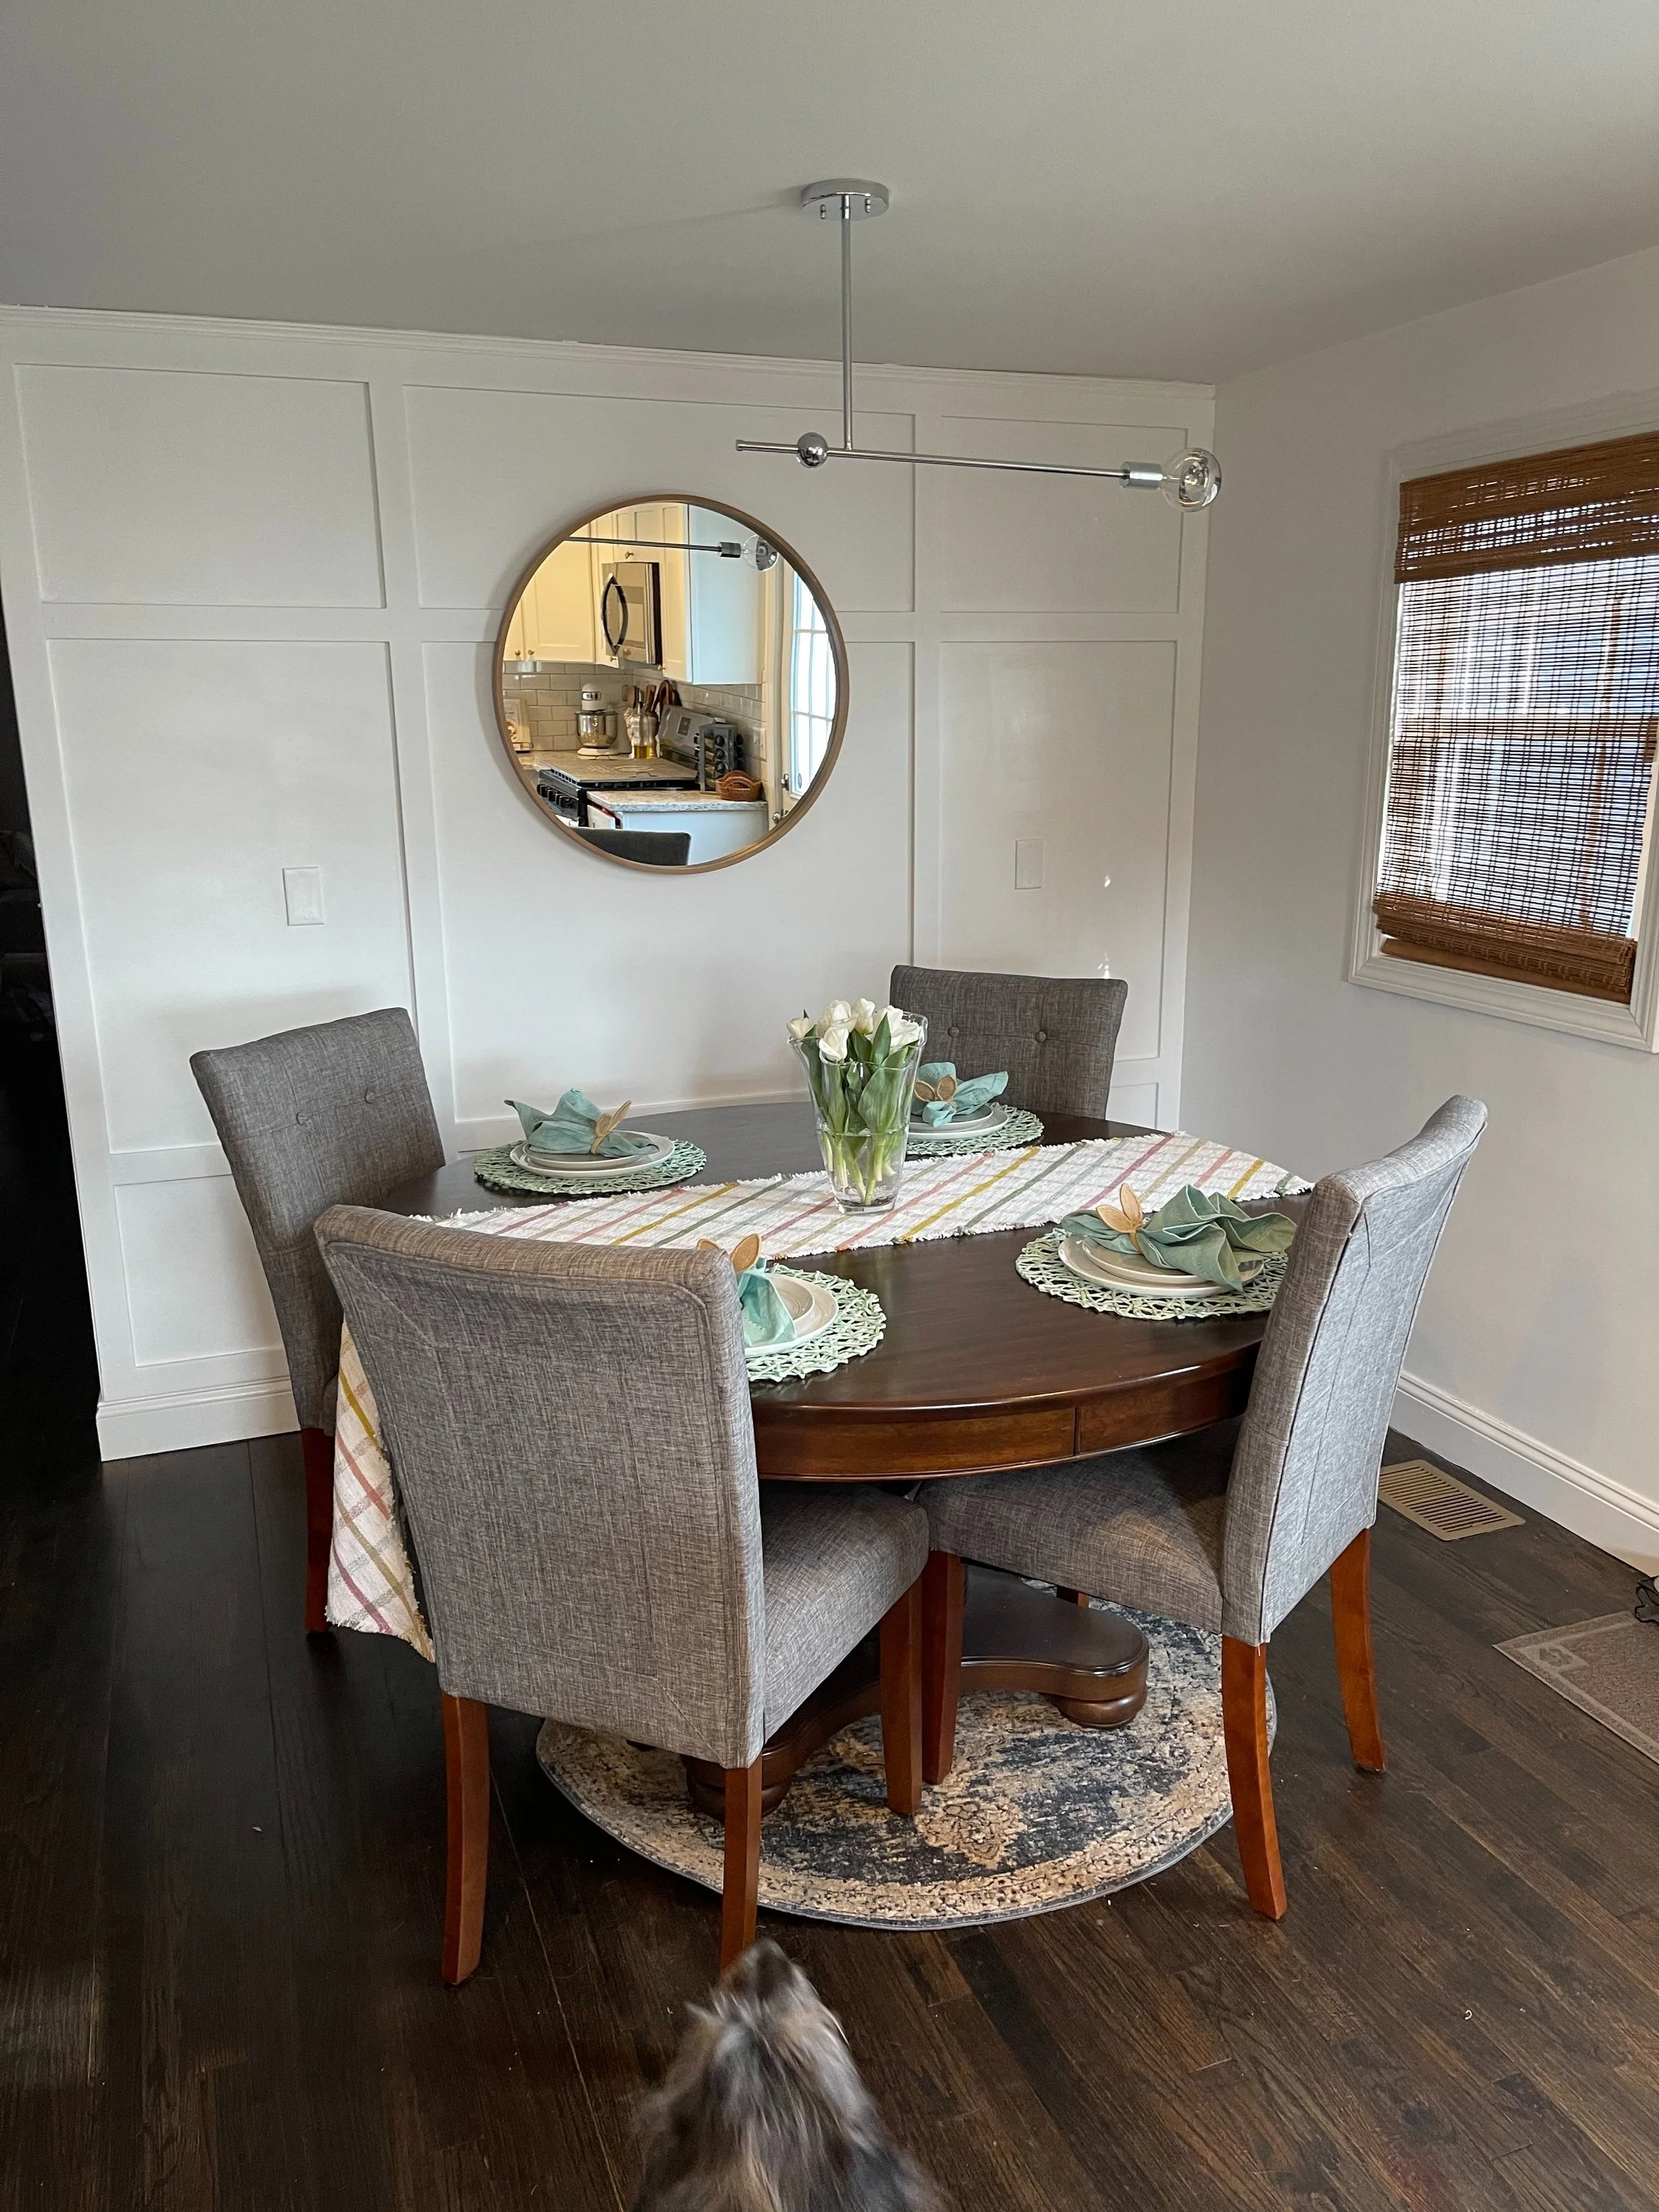
Overall we are so happy with how this project came out. It took me a weekend to complete and it has dramatically changed the look and feel of our dining area! Shop my table setting