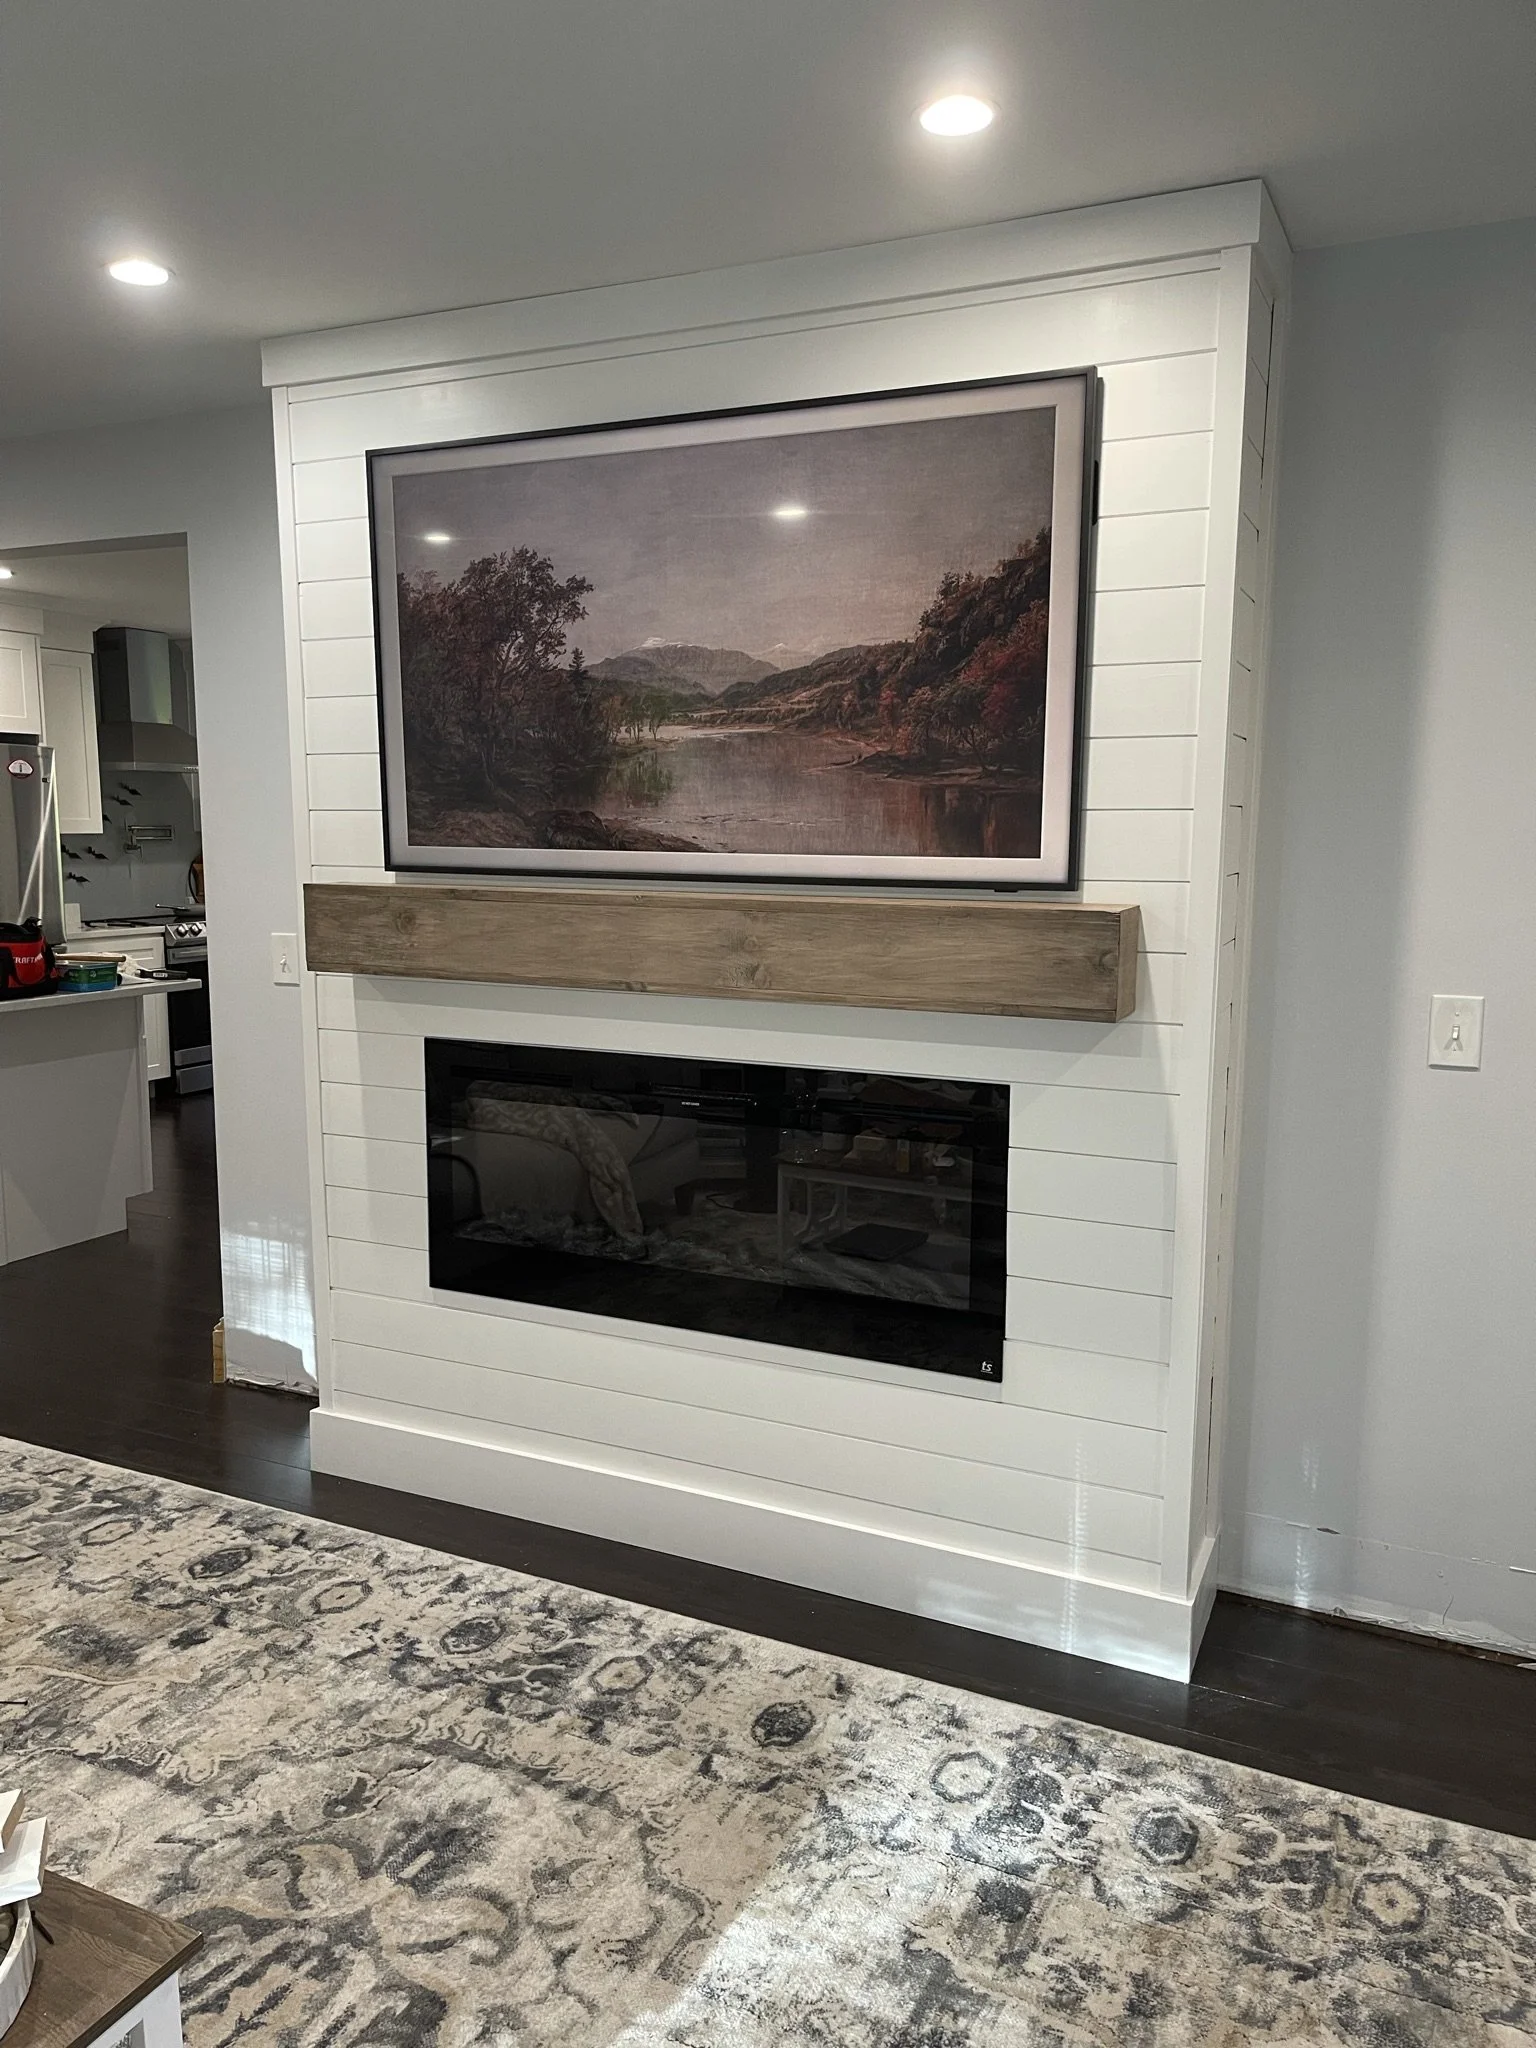
DIY Electric Shiplap Fireplace + Samsung Frame TV
Disclaimer: this post contains affiliate links. All opinions and experiences are my own.
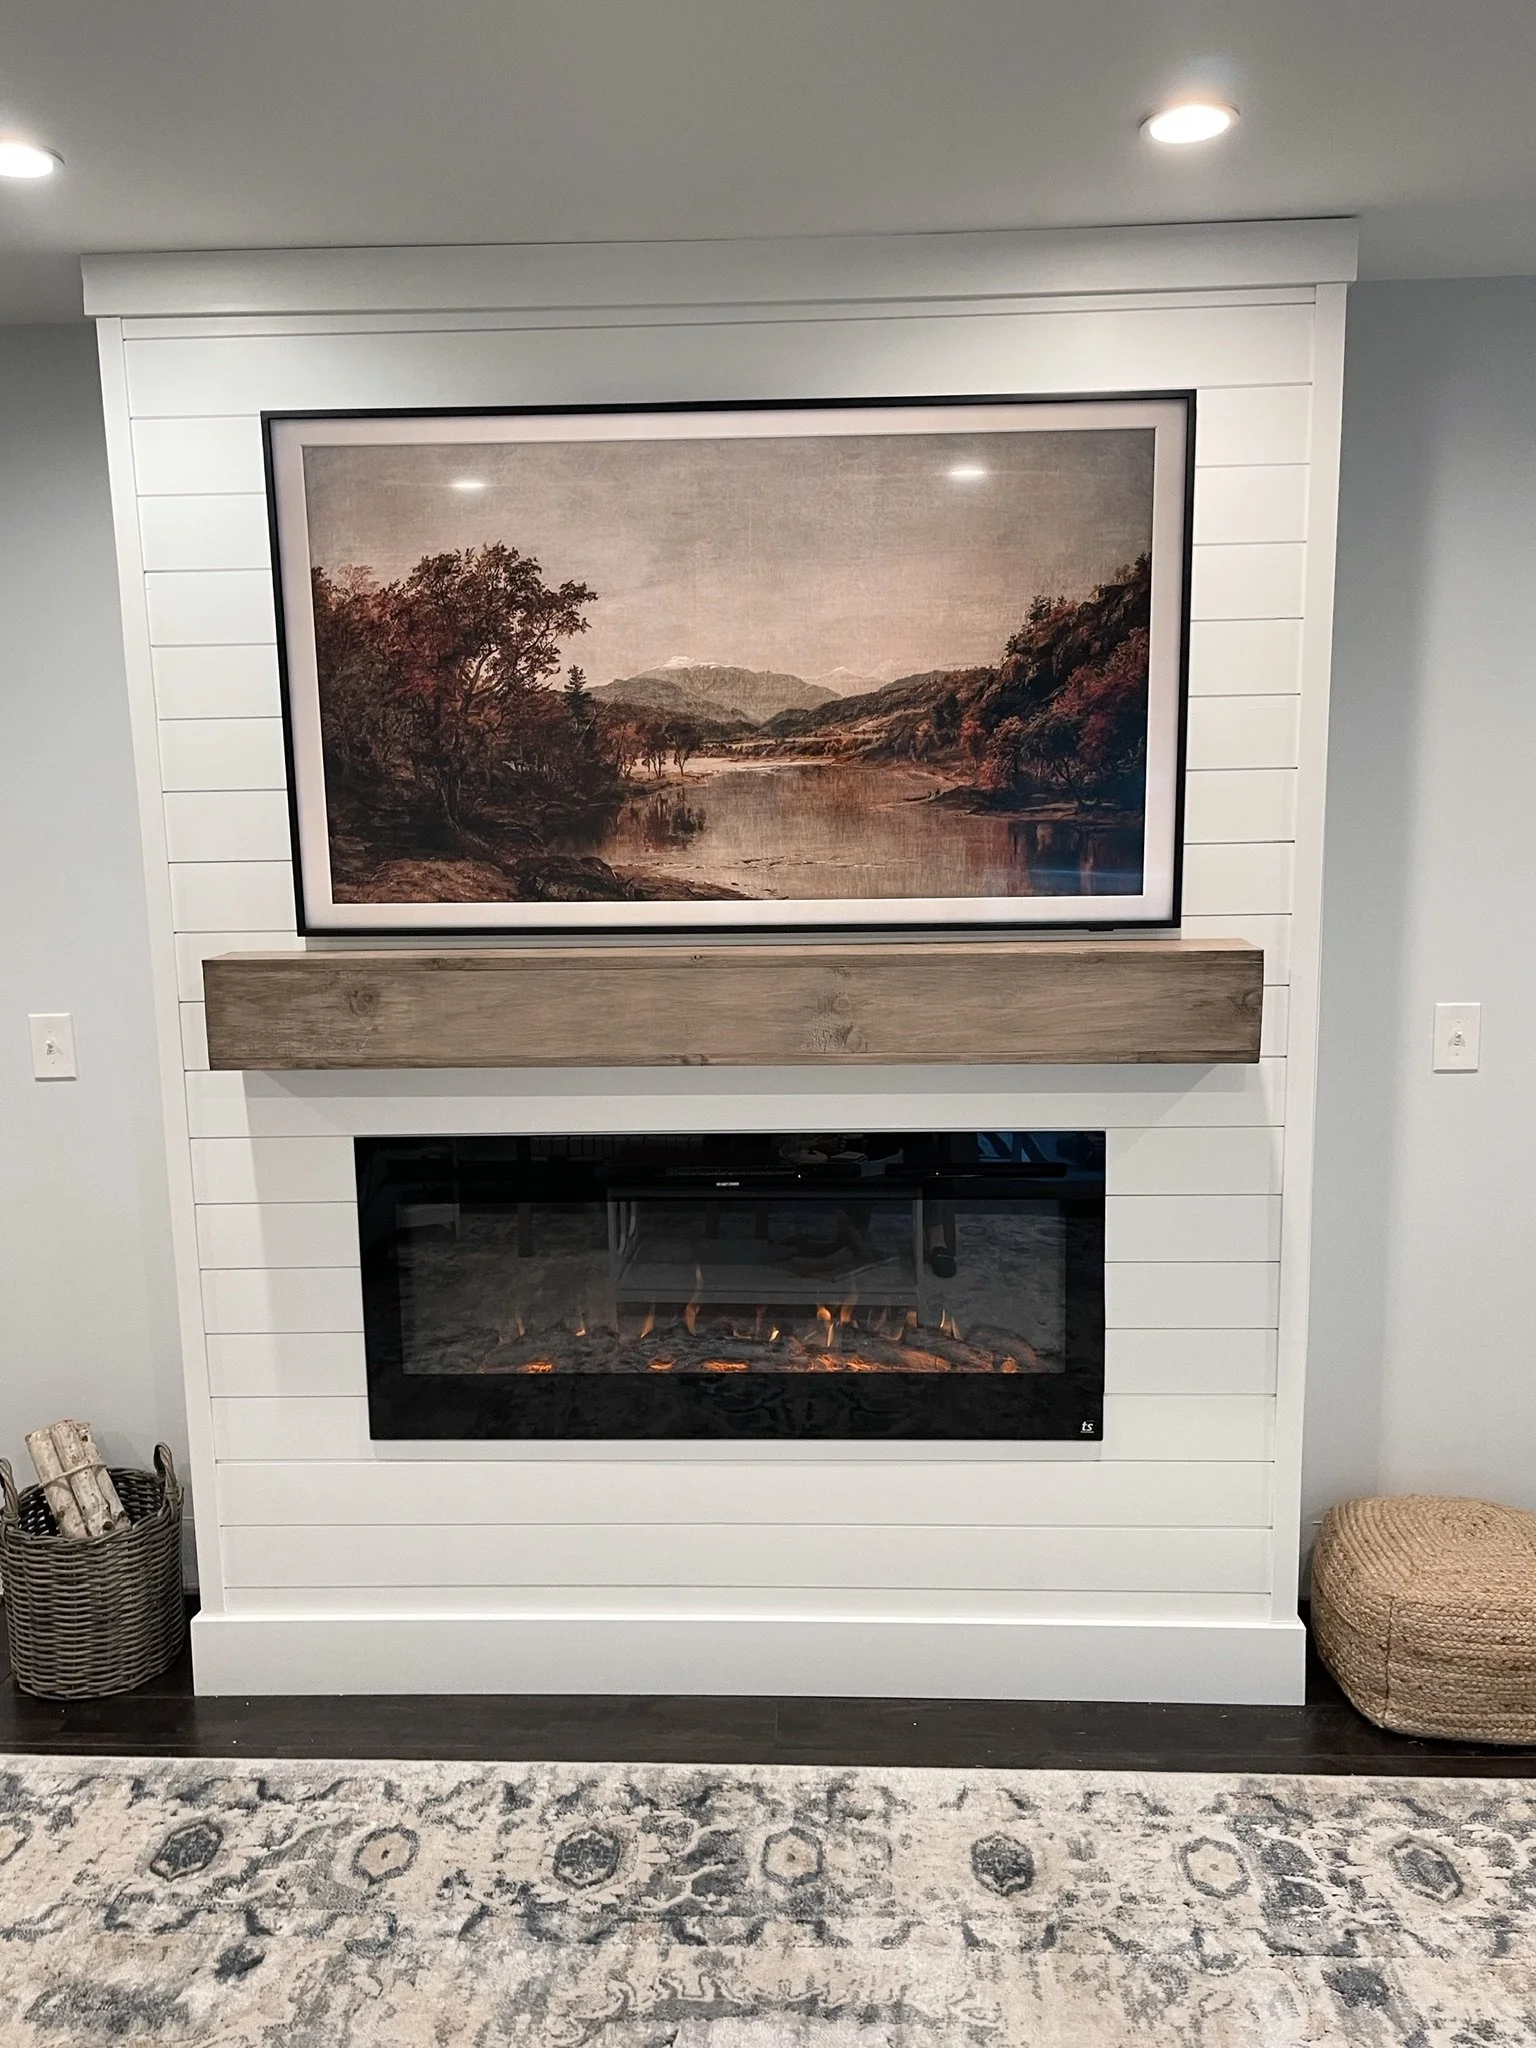
I’m so excited to share my biggest DIY project to date! When we bought our new home in August 2021 the only thing missing was a cozy fireplace in this 1900’s farmhouse it only seemed fitting!
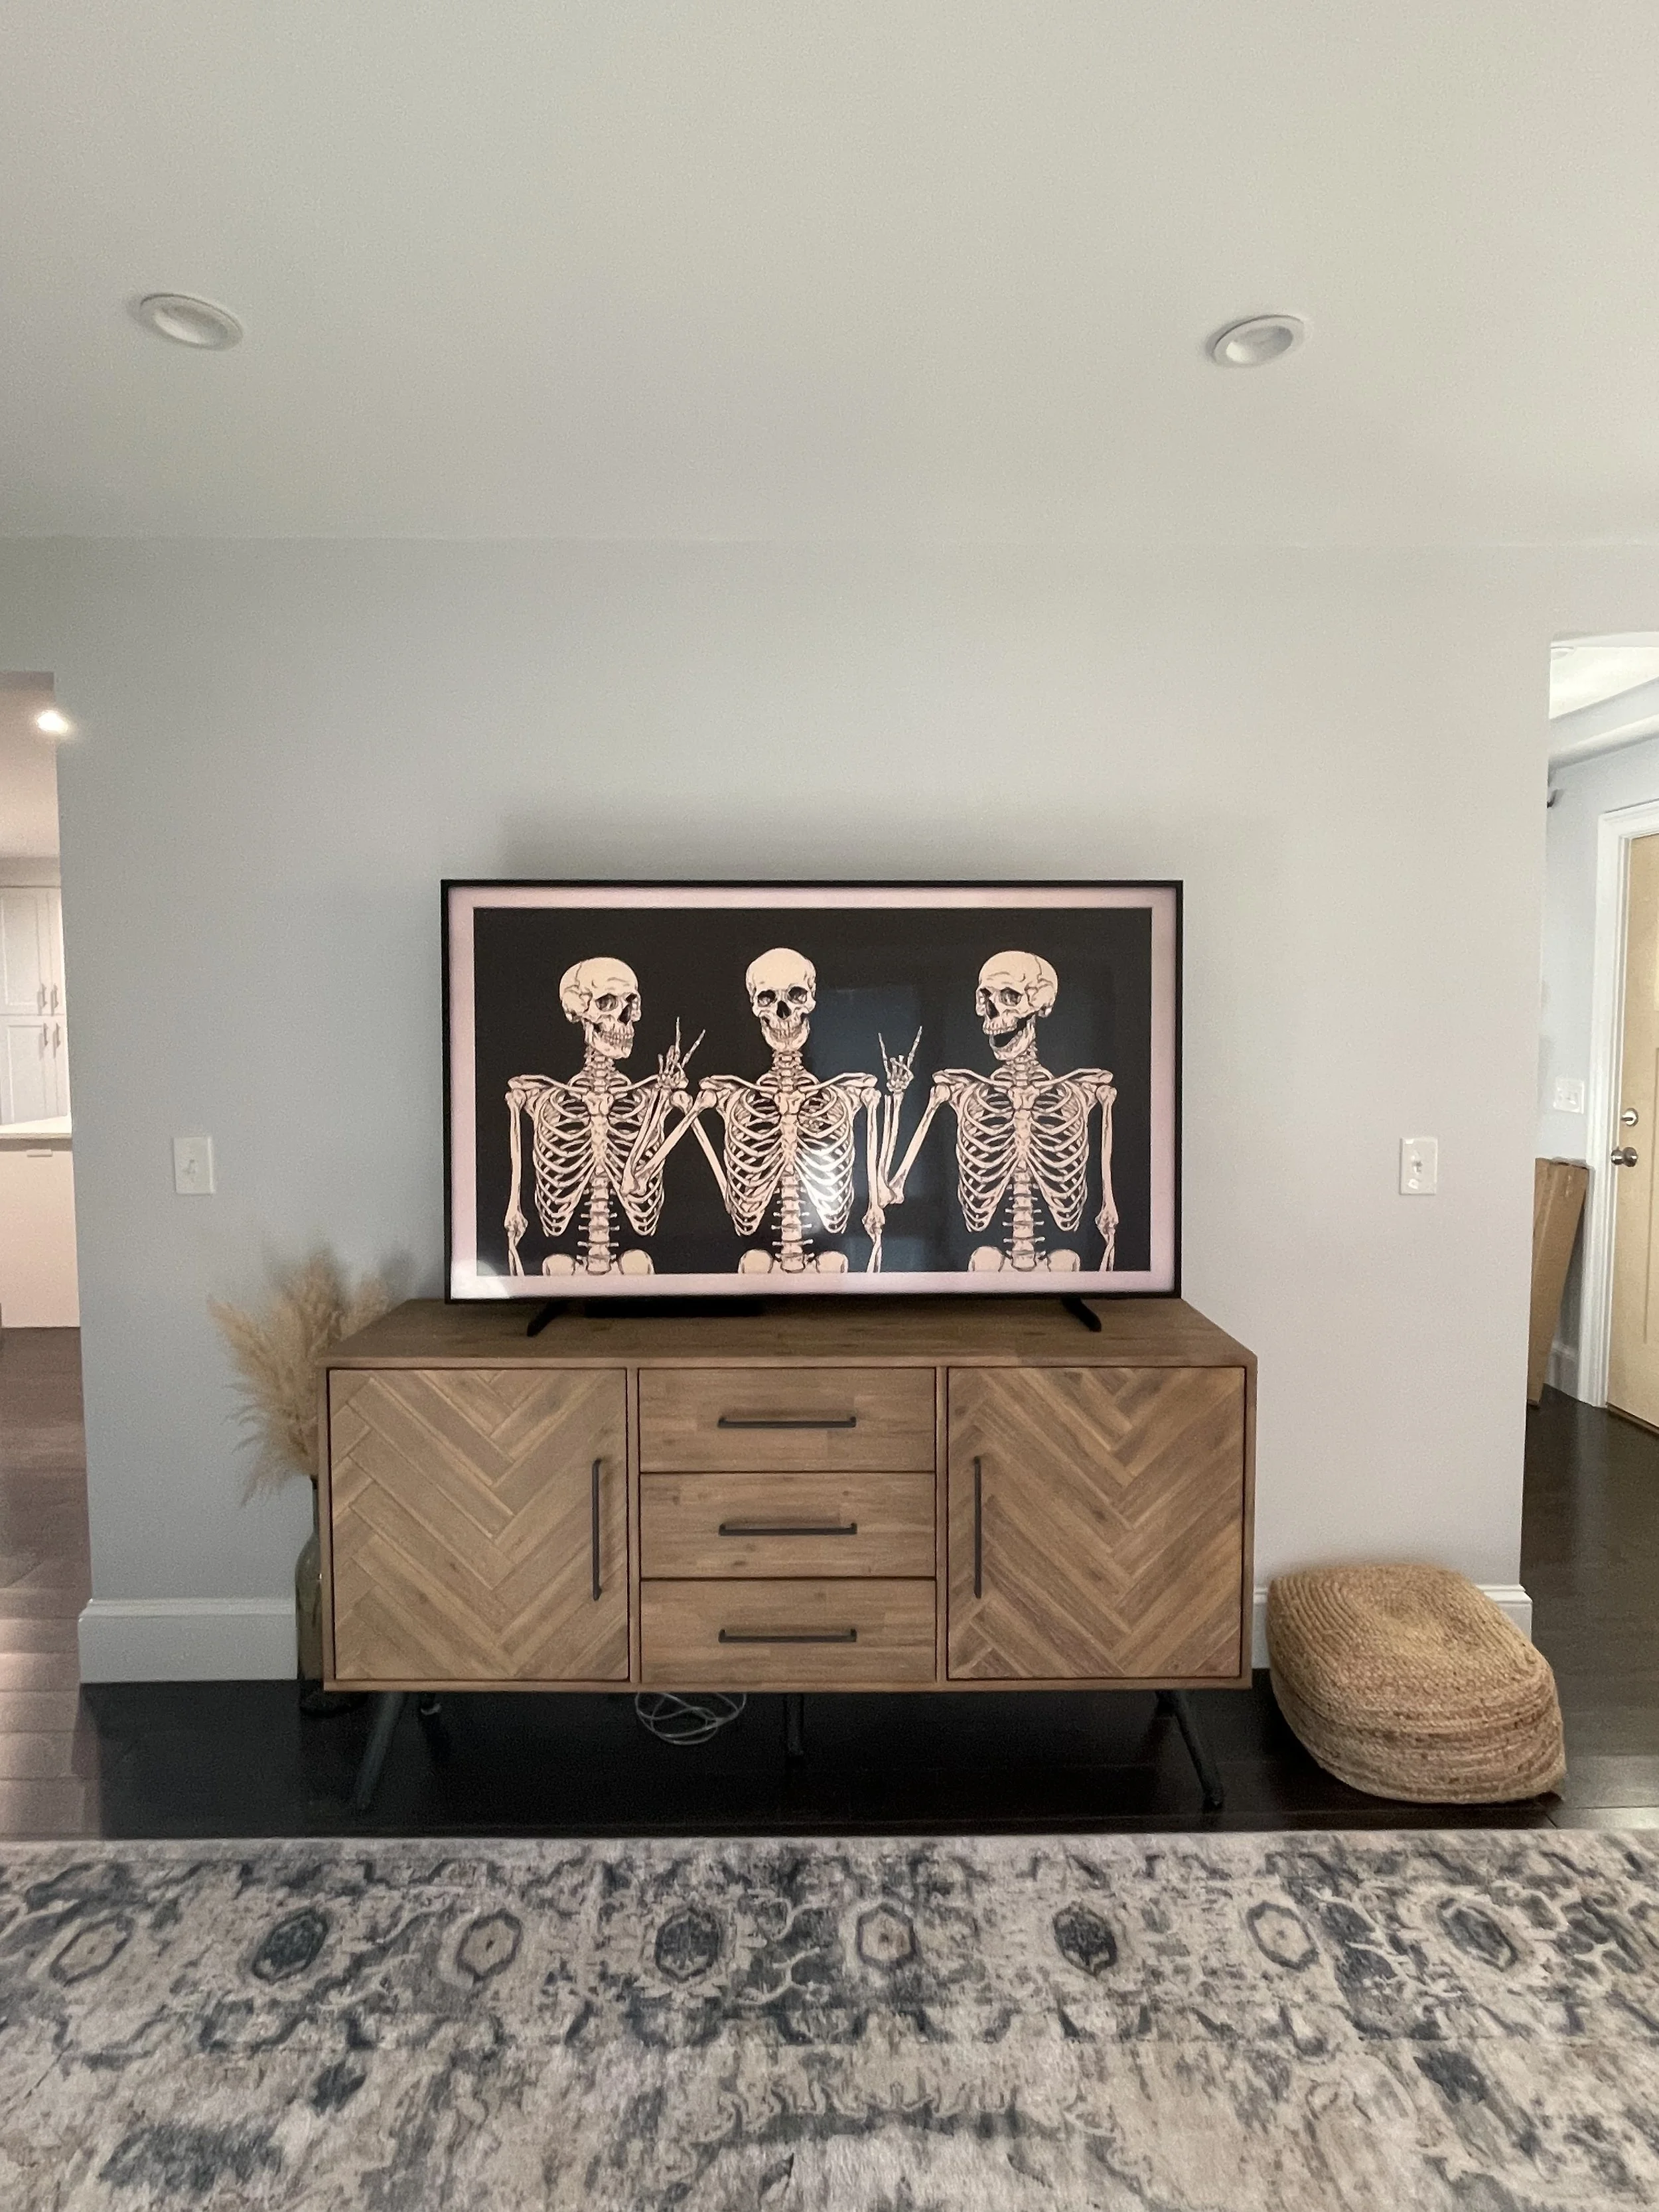
Our living room had the perfect center wall with openings on either side that was perfect for the fireplace focal point. I used our Samsung Frame TV size as the guide to how wide we wanted the fireplace to be. Since the Frame TV is 65 inches, it needed to be wider than that. For the best use of materials, we chose to make the front 6 ft wide and the sides 1 ft deep since the shiplap came in 8 ft boards.
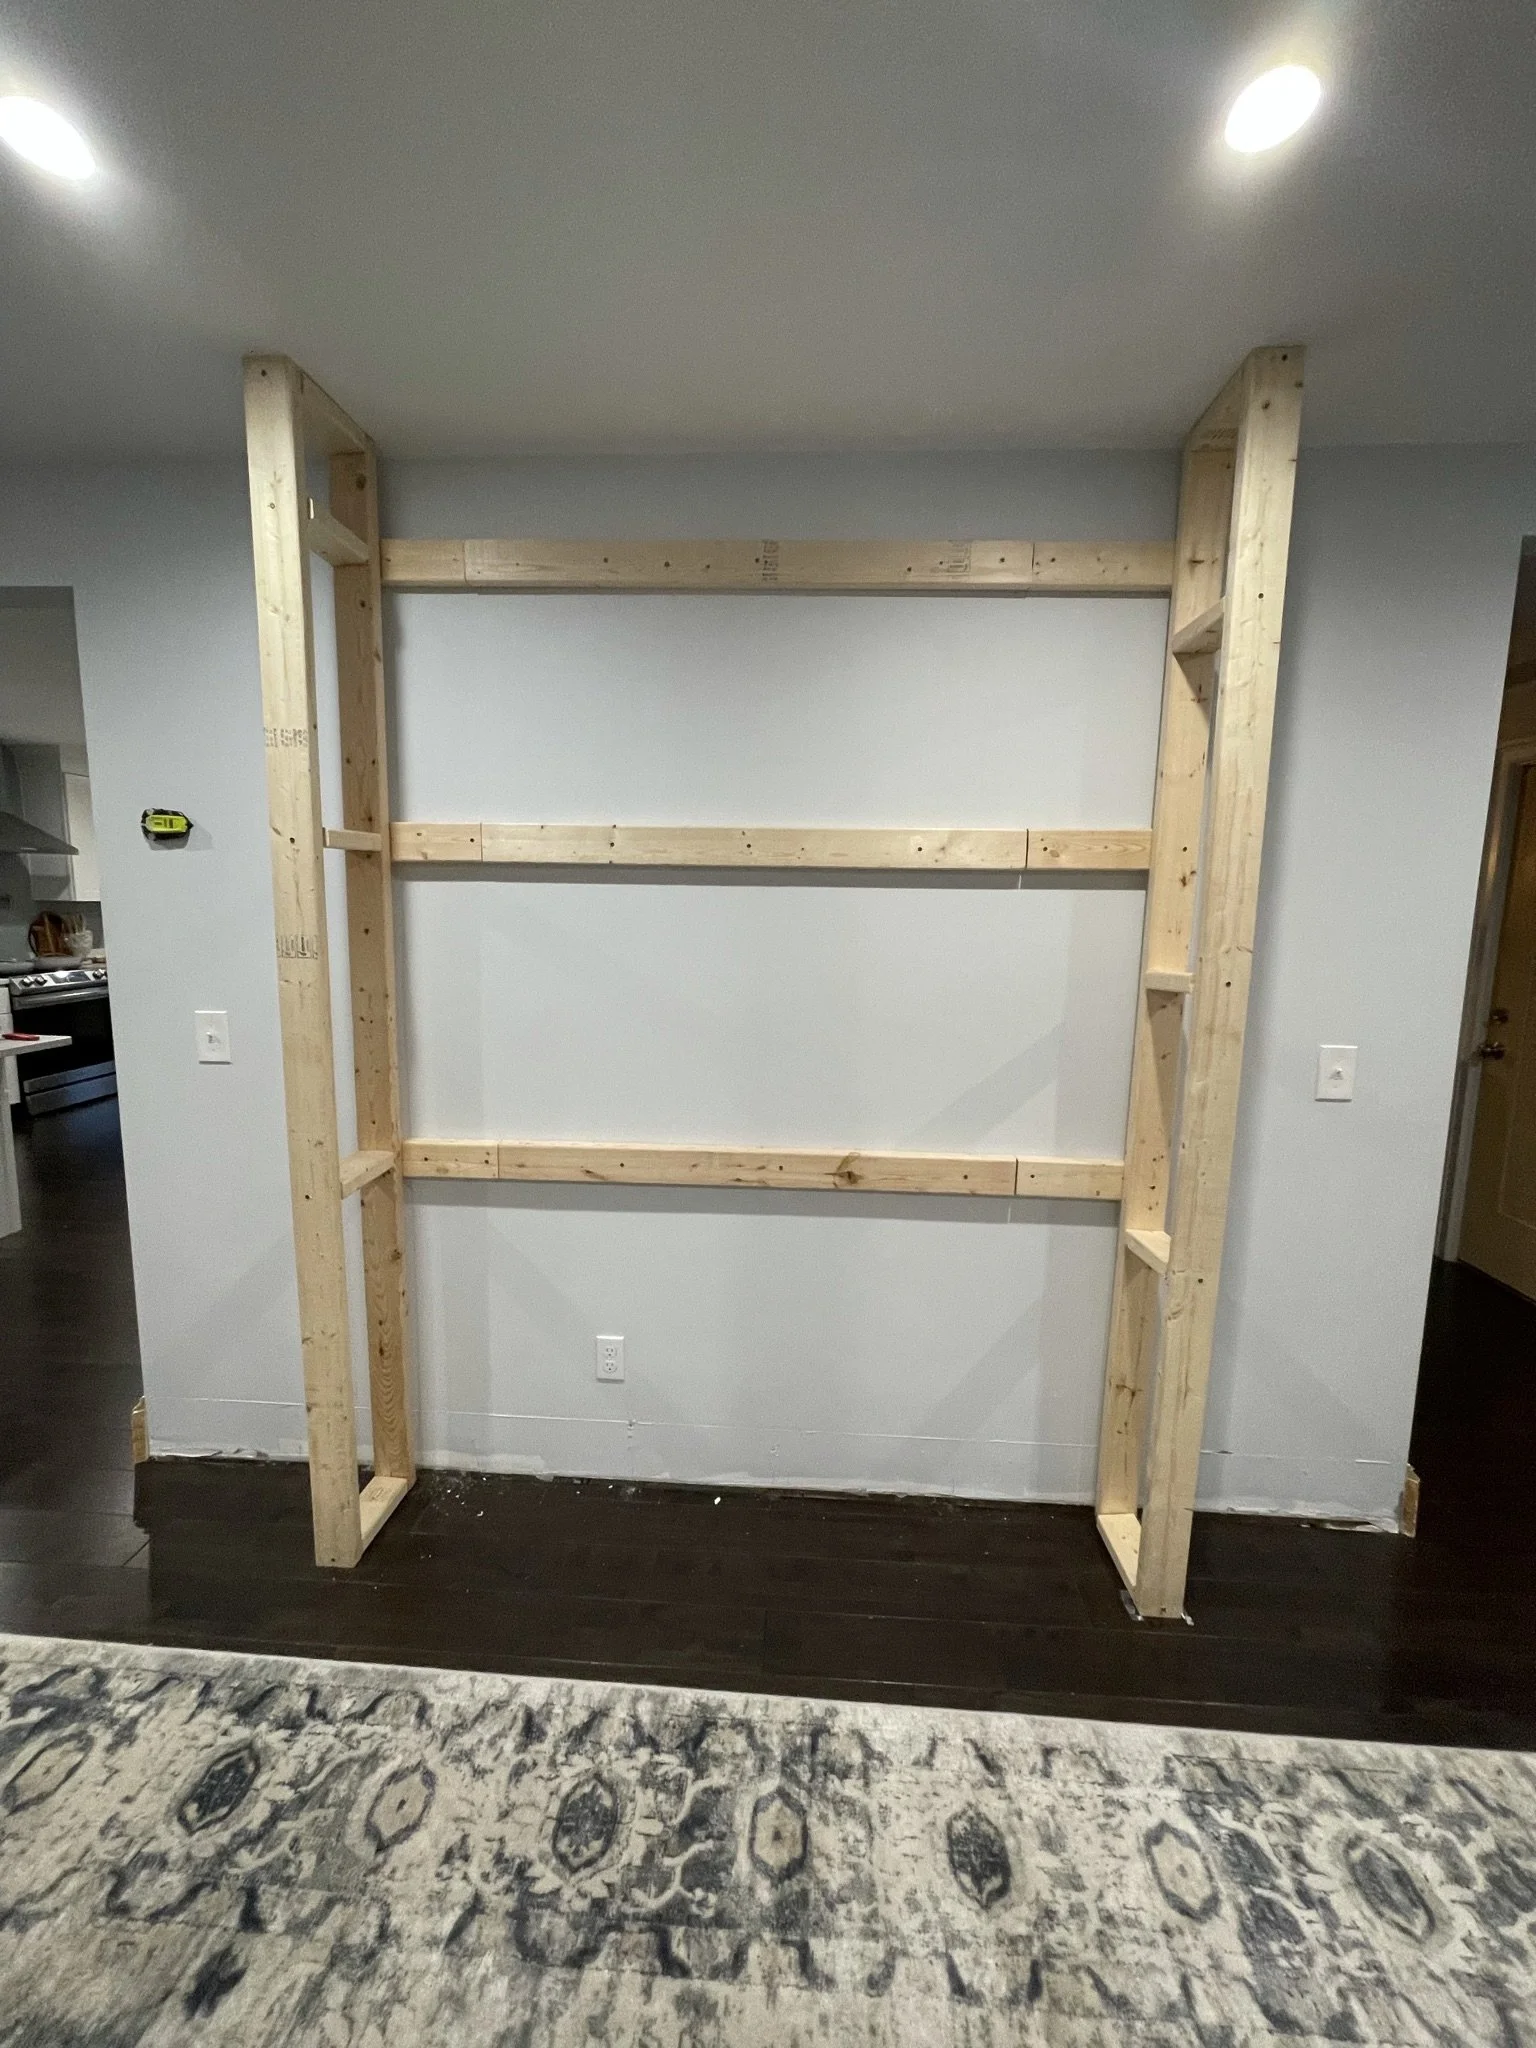
I began framing the structure with 2x4’s attaching the horizontal studs to the wall studs and the “walls” of the fireplace to those studs using 2 /12 inch screws.
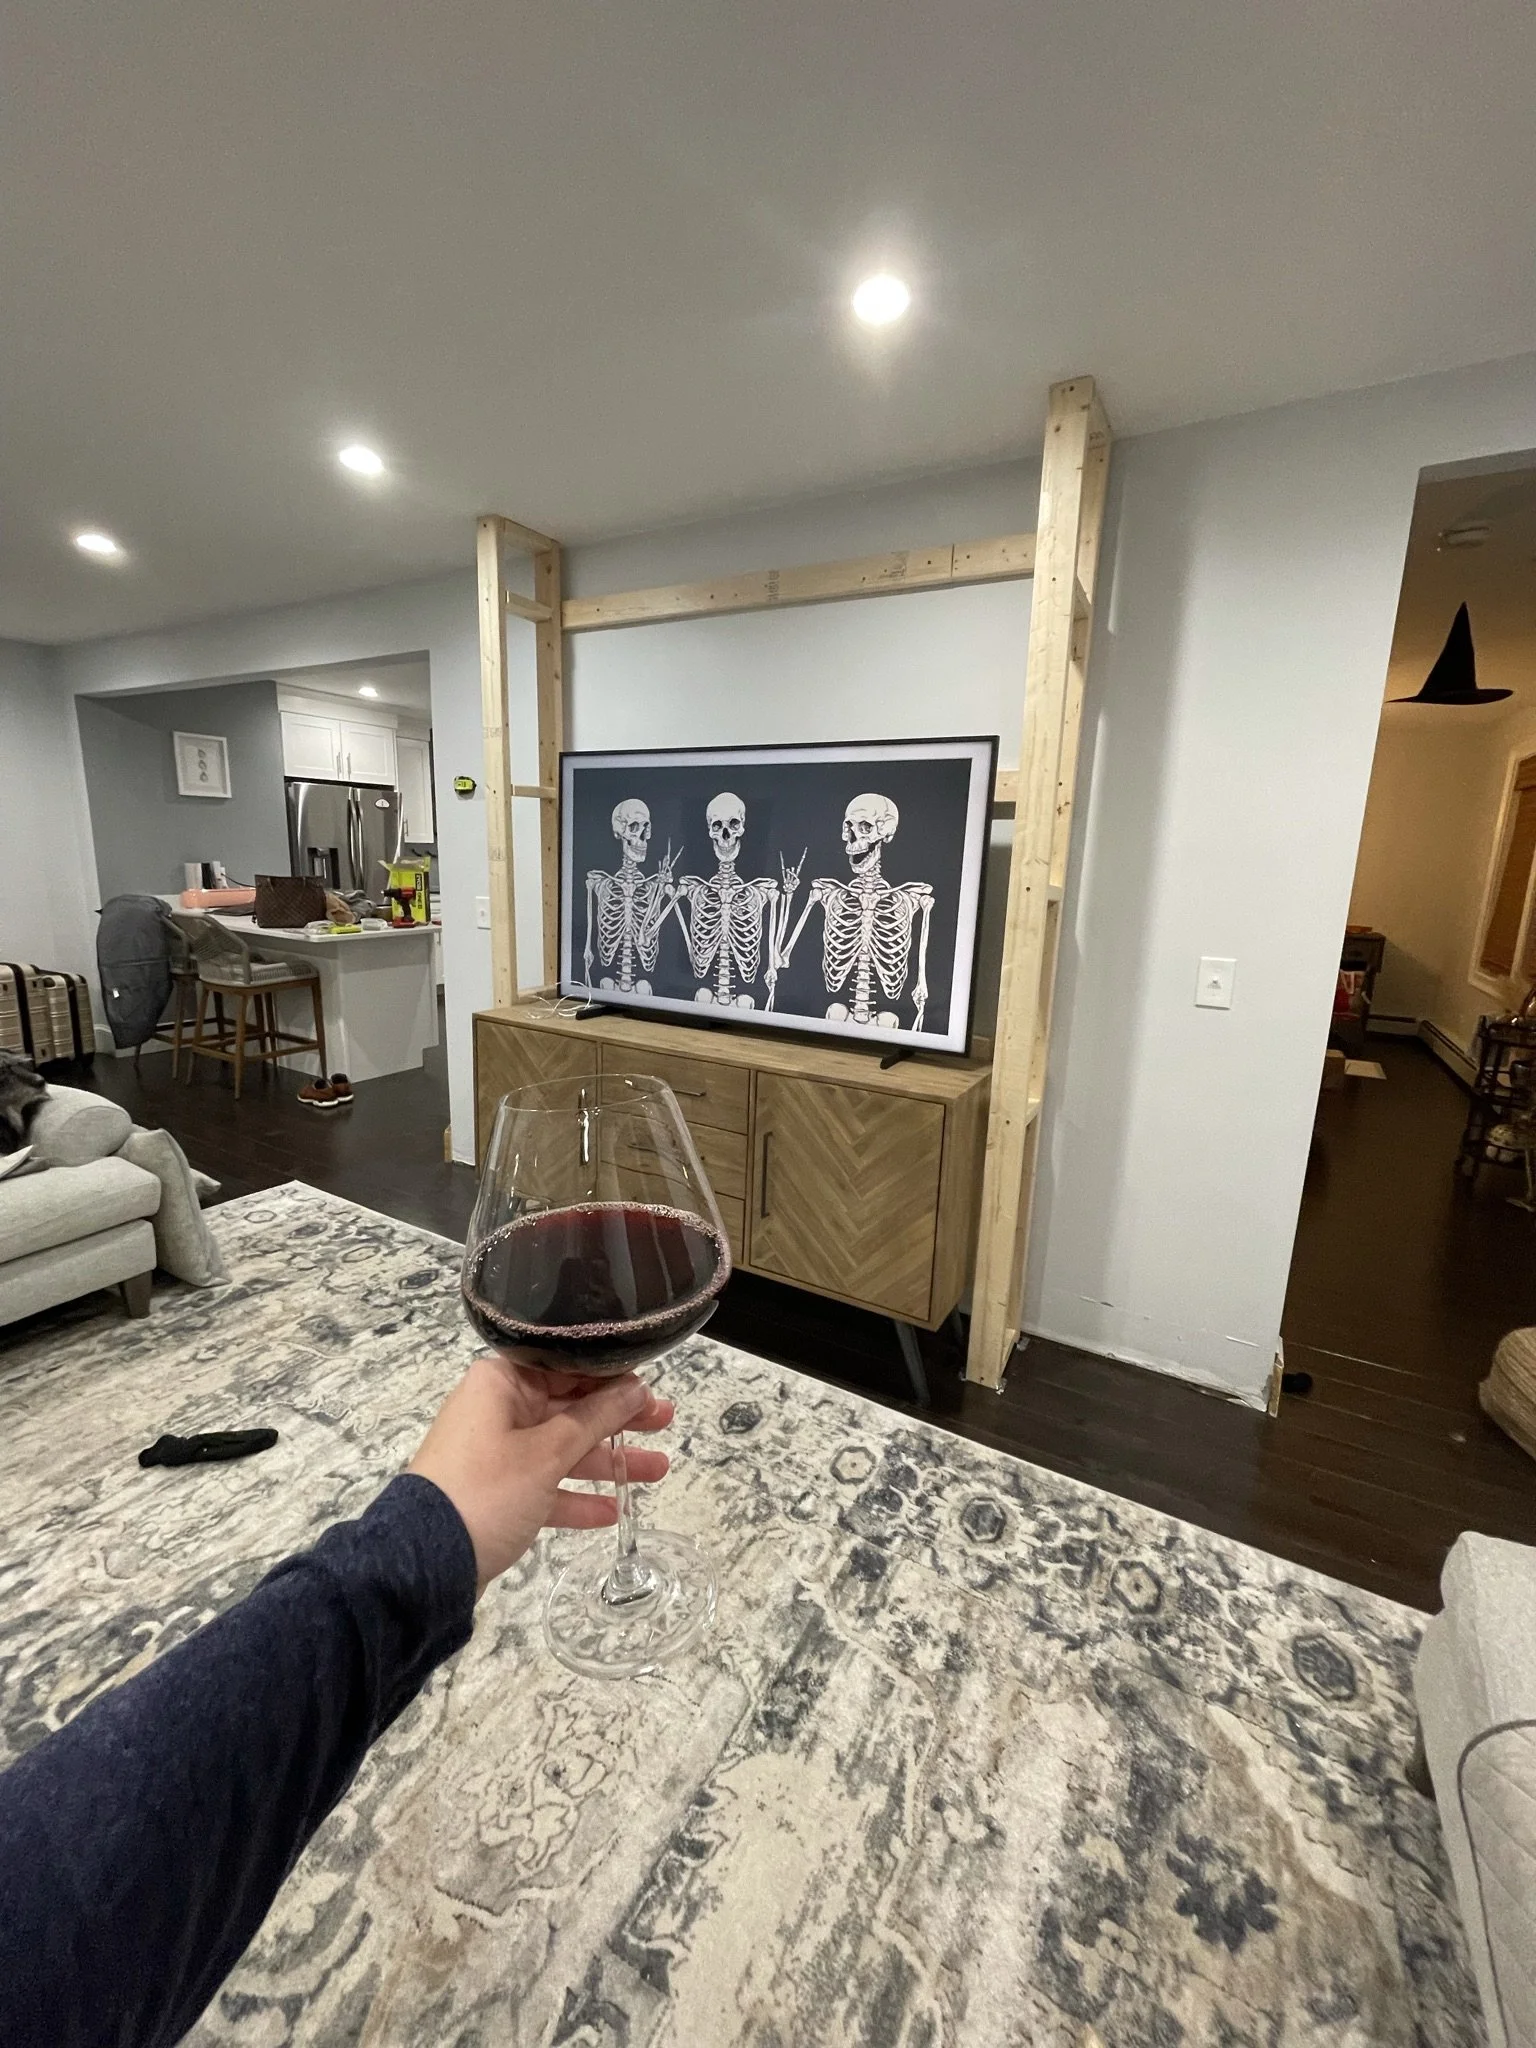
As with any project.. wine is usually involved once I’ve completed part of the project for the day. Please do not drink and DIY! ;)
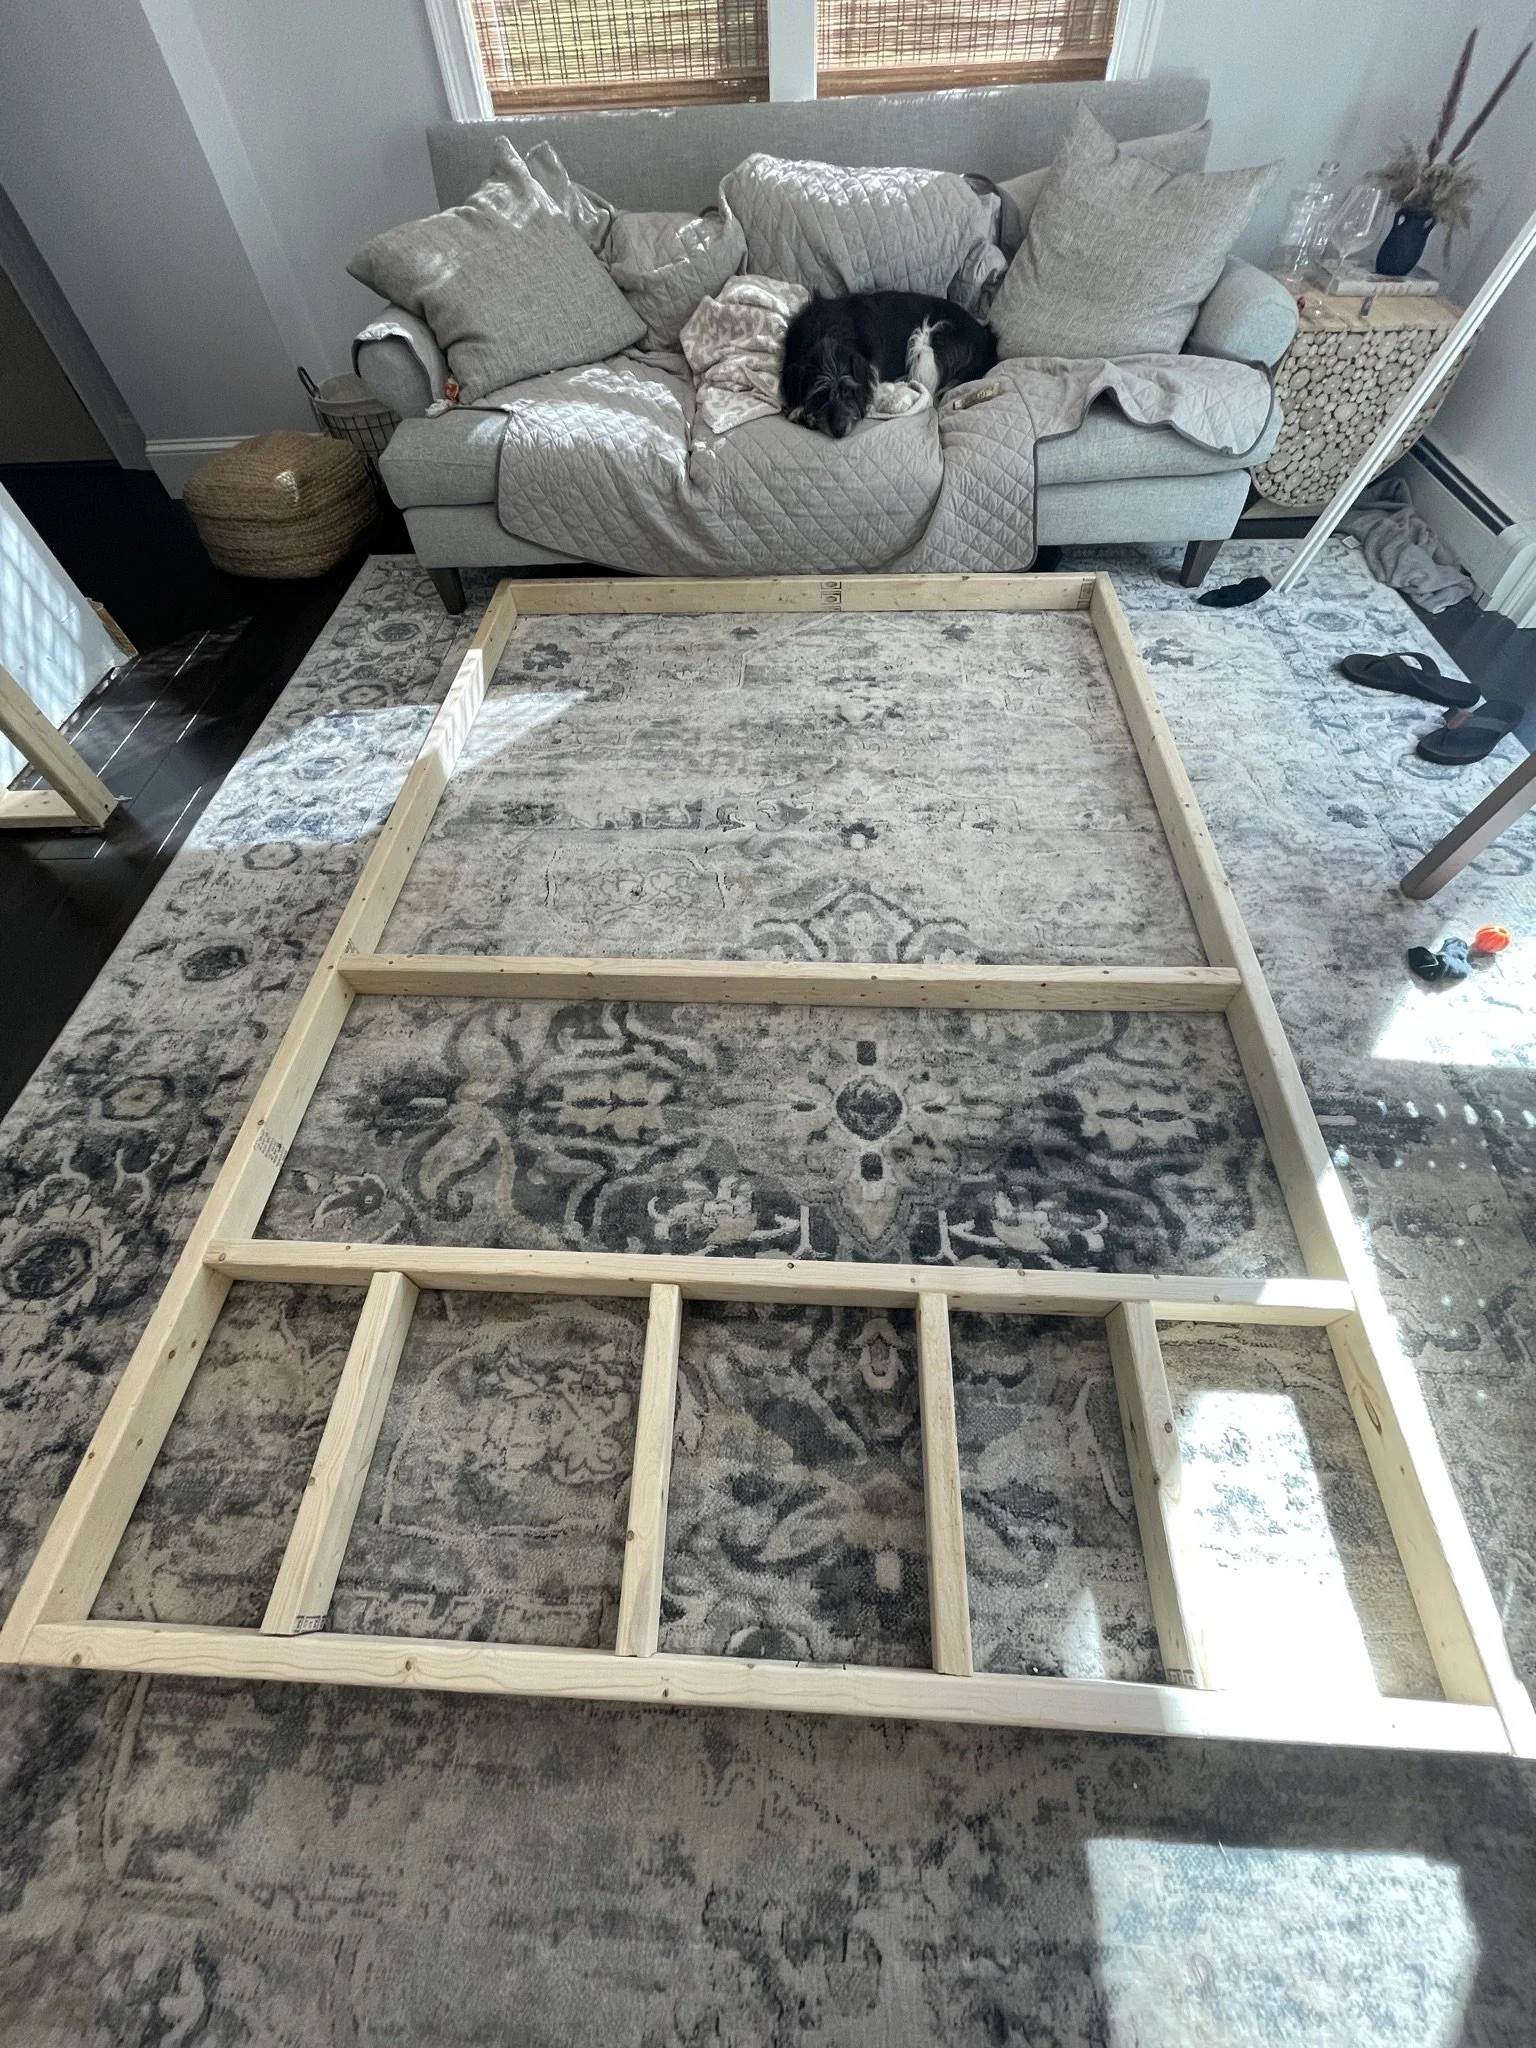
My K9 supervisor Remi was helping to make sure all the measurements were accurate and screws fastened in our front frame before attaching to the “Walls” of the fireplace.
This part was tricky and I needed my husband’s help standing it up and fitting it in just right. We used a rubber mallot to help push the front frame into place and then secured it with 2 1/2 inch screws to the walls.
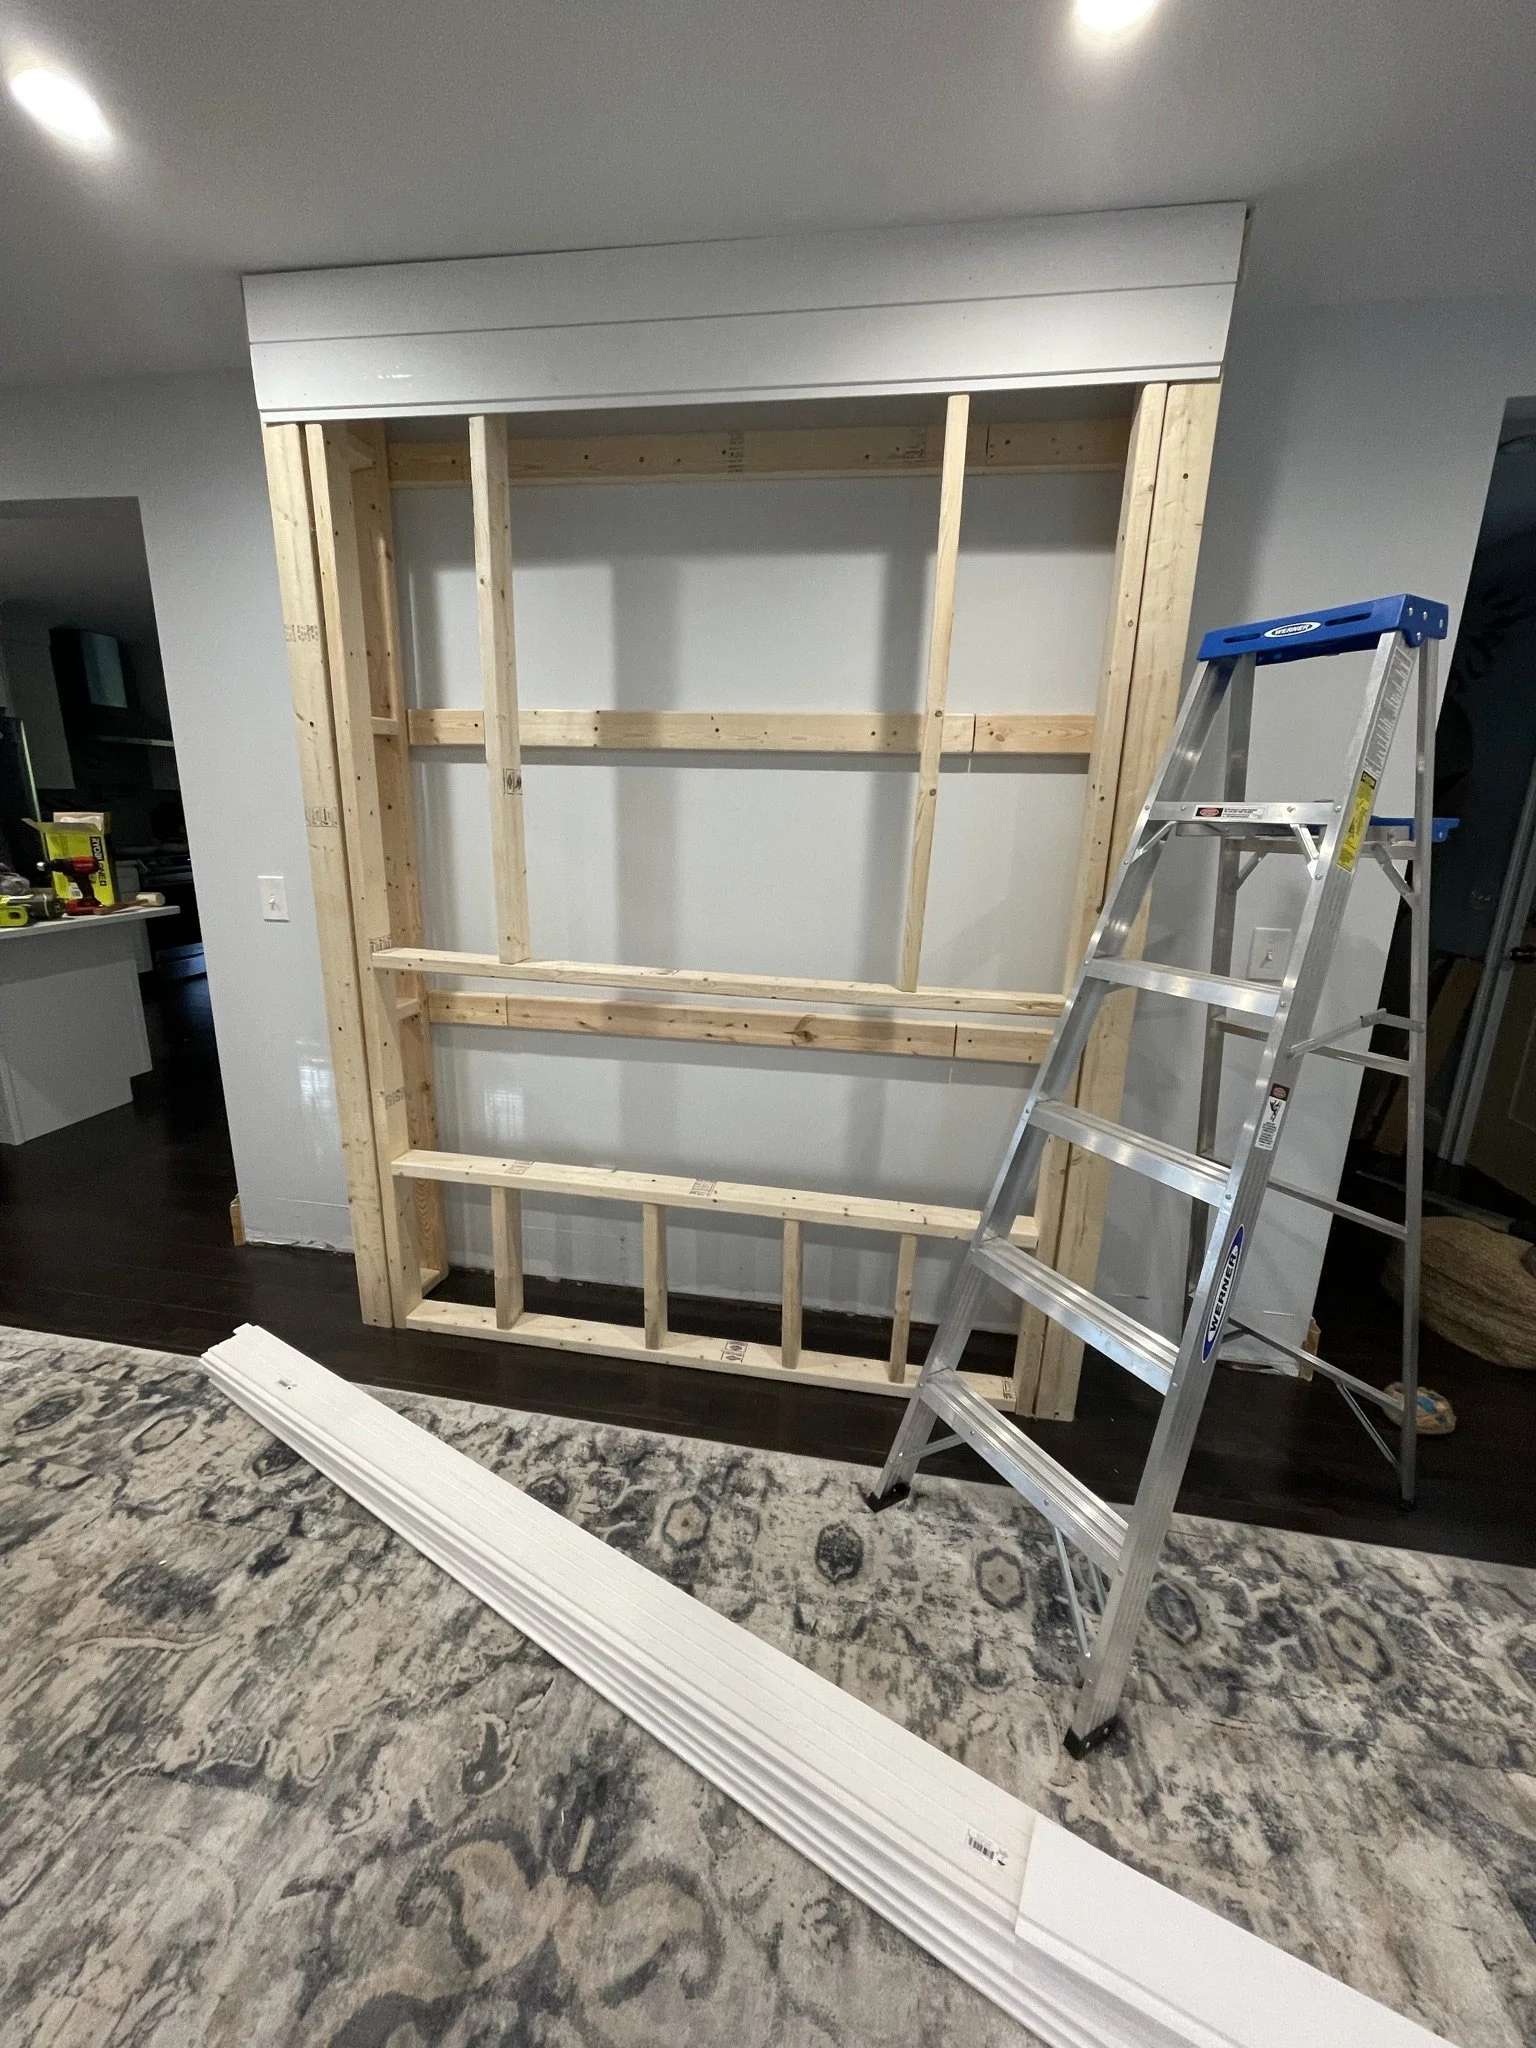
Next up was the easiest part! I used my circular saw to cut the shiplap boards to spec and began using my new cordless nail gun to secure them in place to the stud frame on the front and sides.
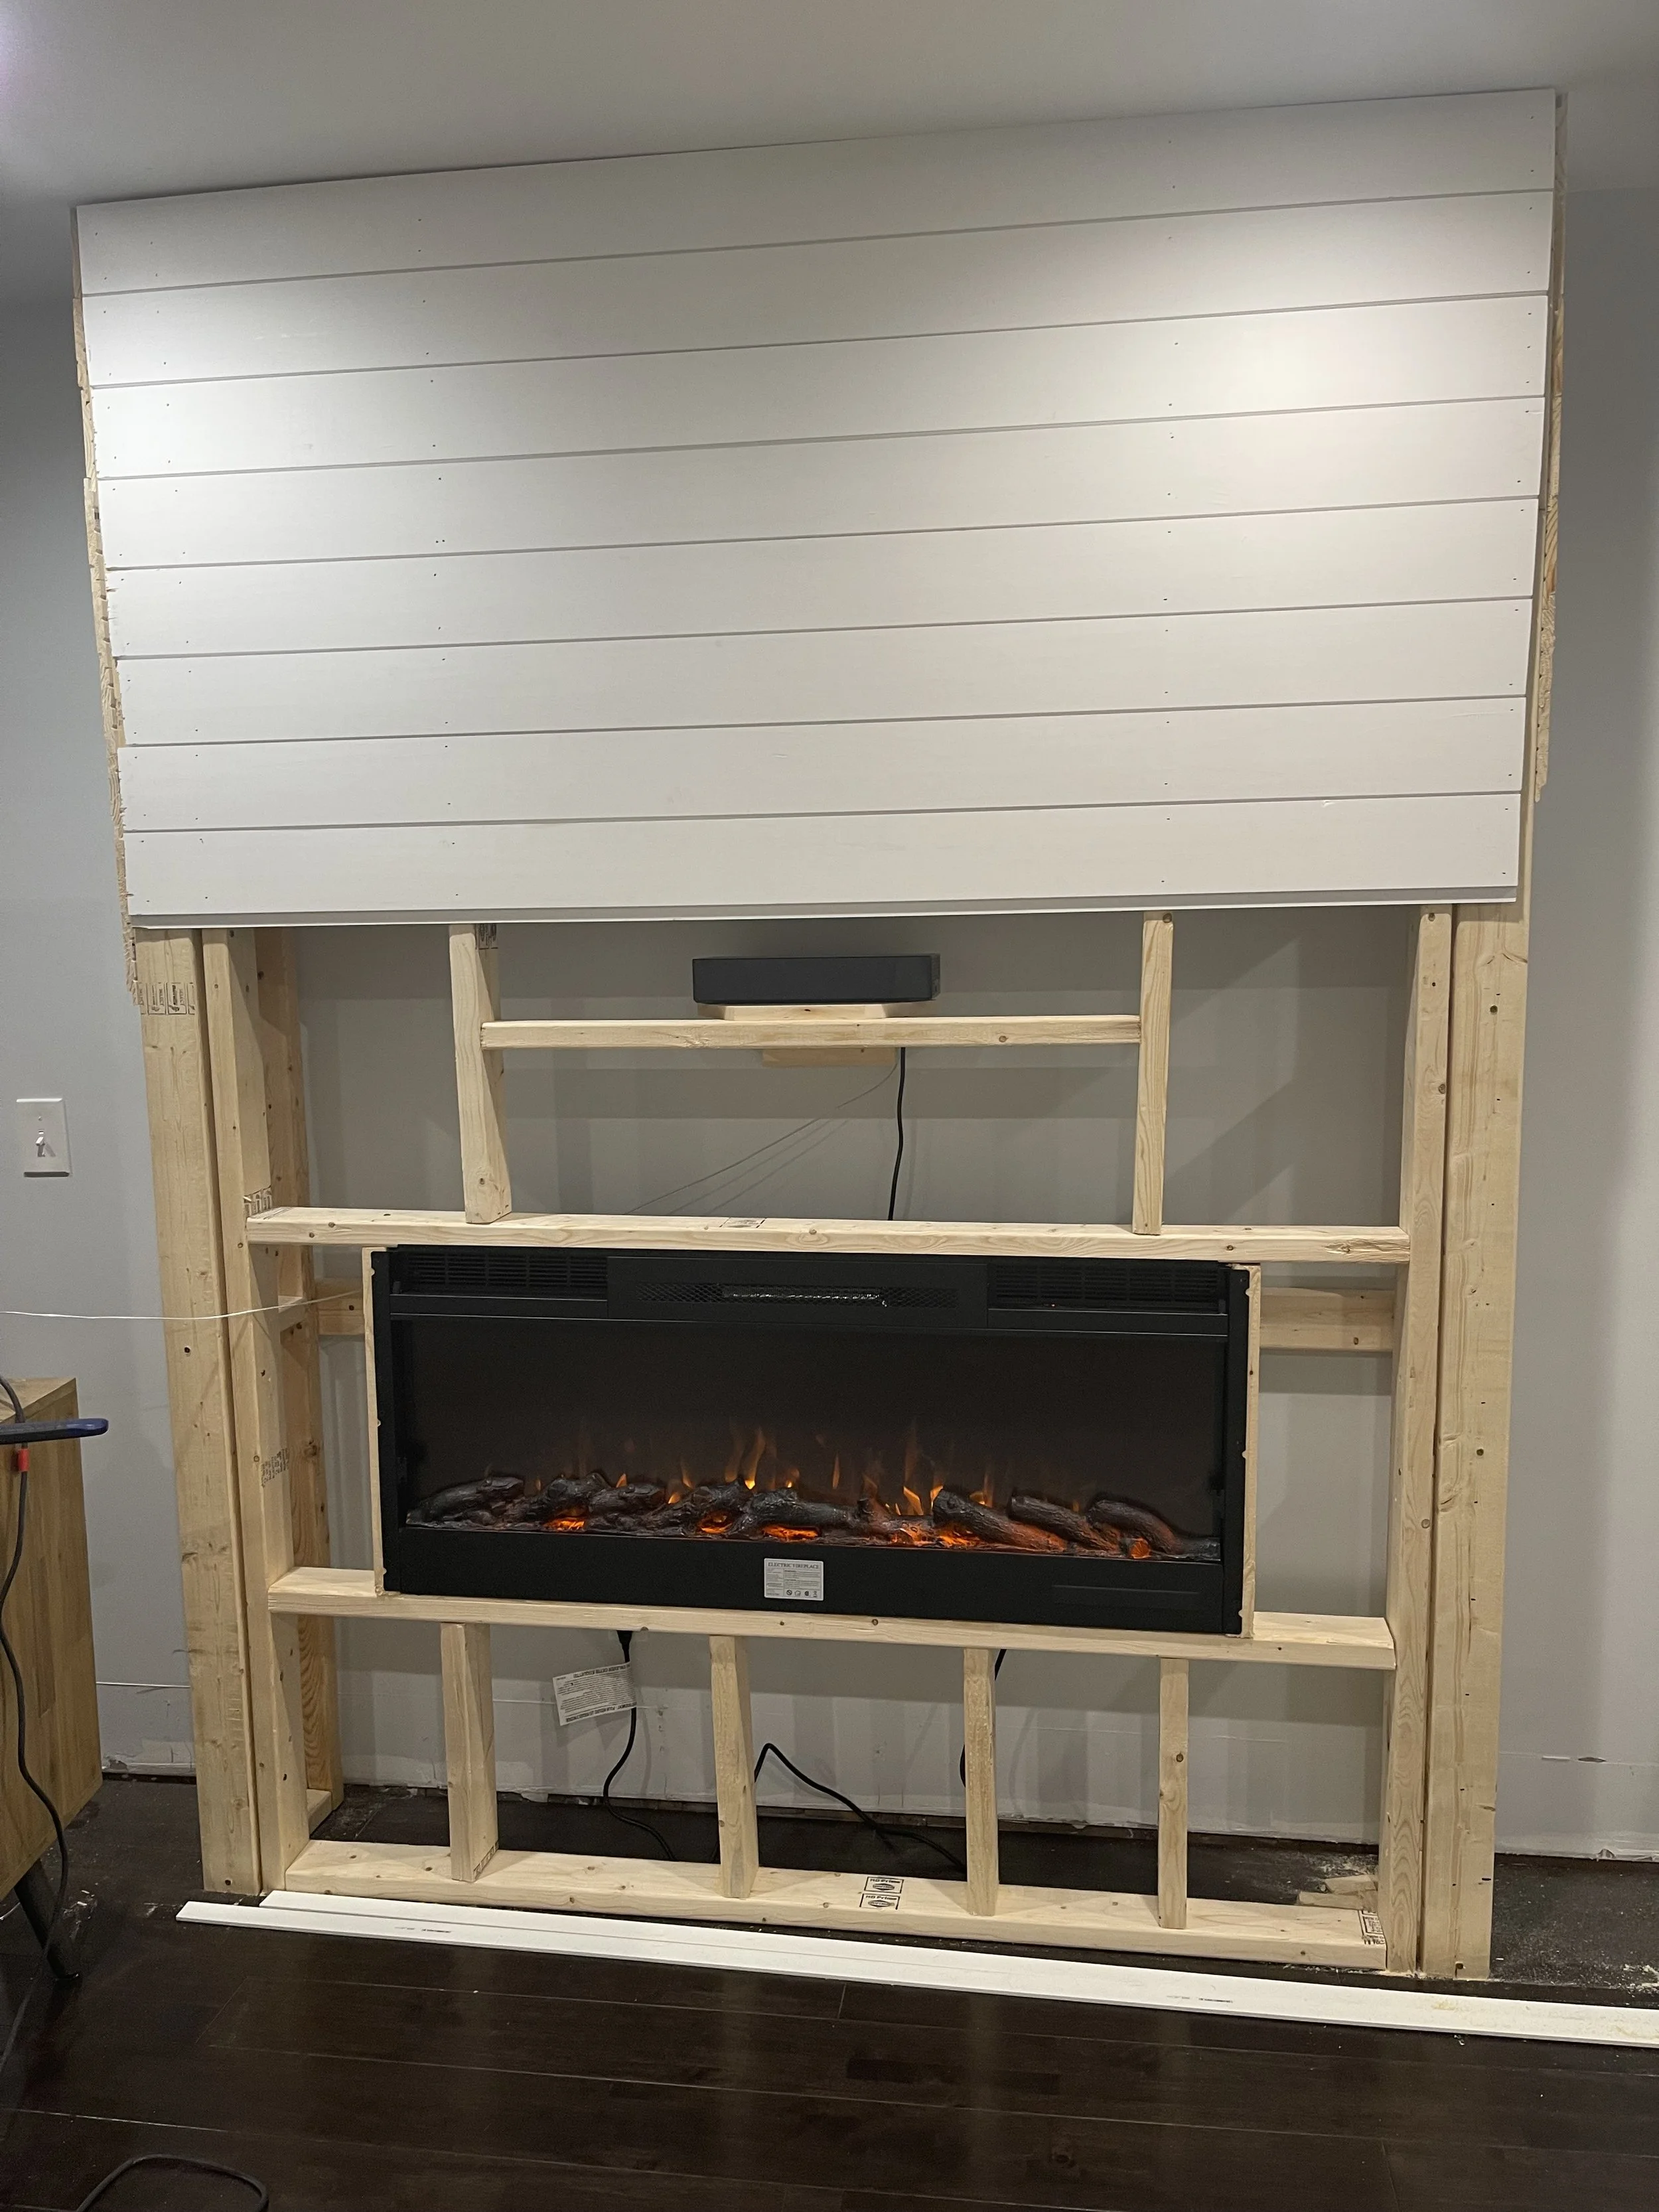
Underneath where the TV will cover, I snuck in a secret hidden console shelf that can be easily accessed. This fireplace insert was the perfect length and most importantly vented heat out of the front instead of the back. It is so realistic and came with faux wood or crystal inserts and has multiple color and heat functions. We love this supplement heat in the winter especially since we have oil heat! After this, I installed the top, bottom, and side trim pieces. I used 1x4 mdf for the top trim, 1x6 mdf for the bottom trim, and 1x2 PVC trim for the sides.
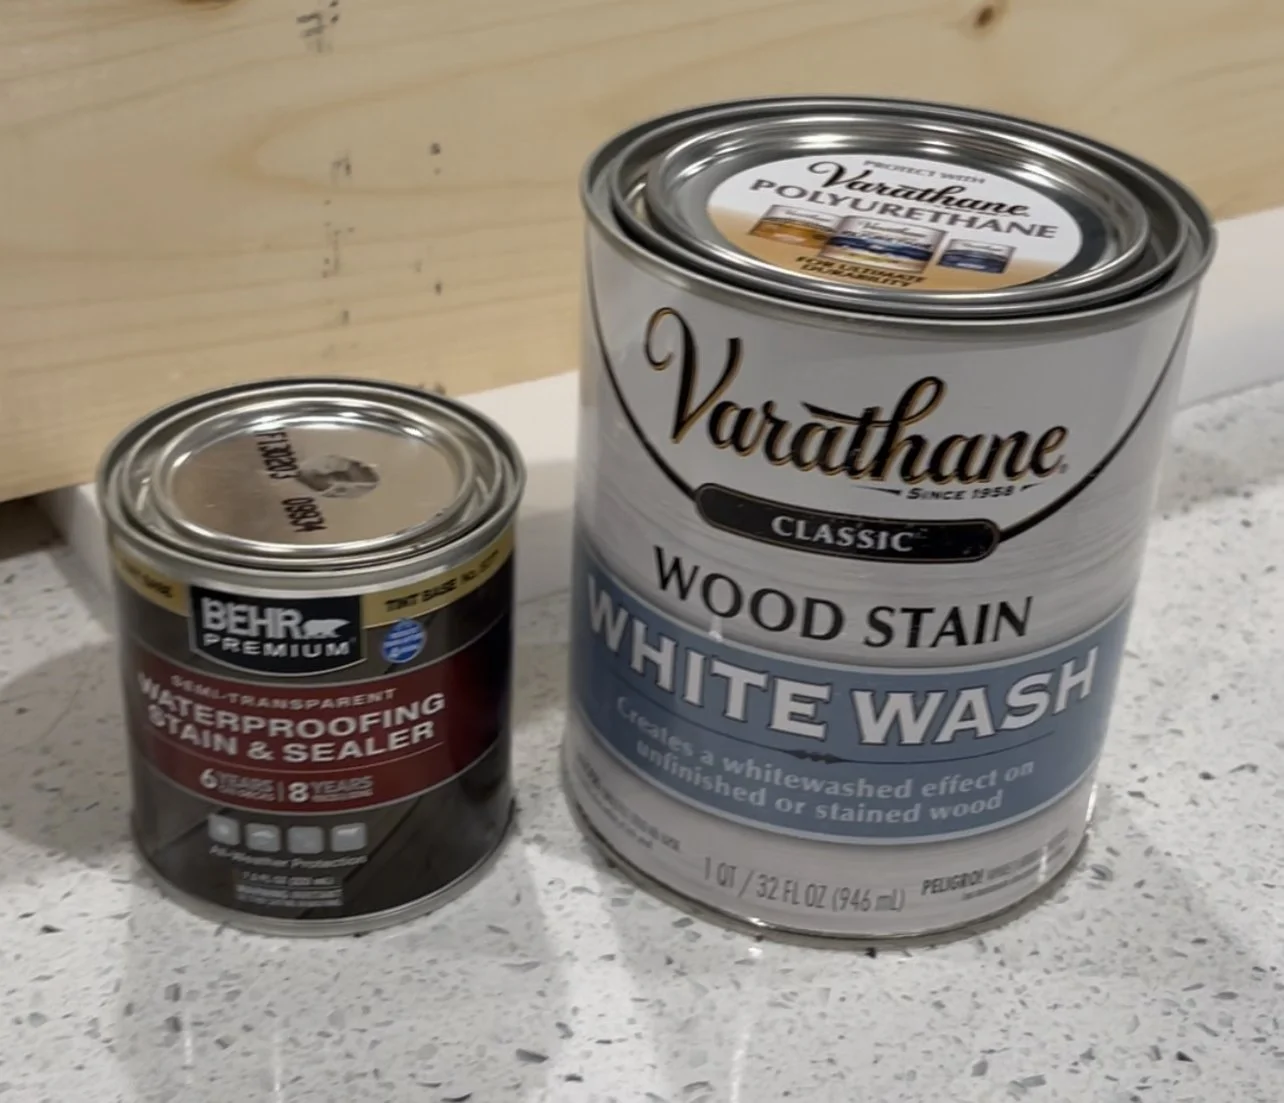
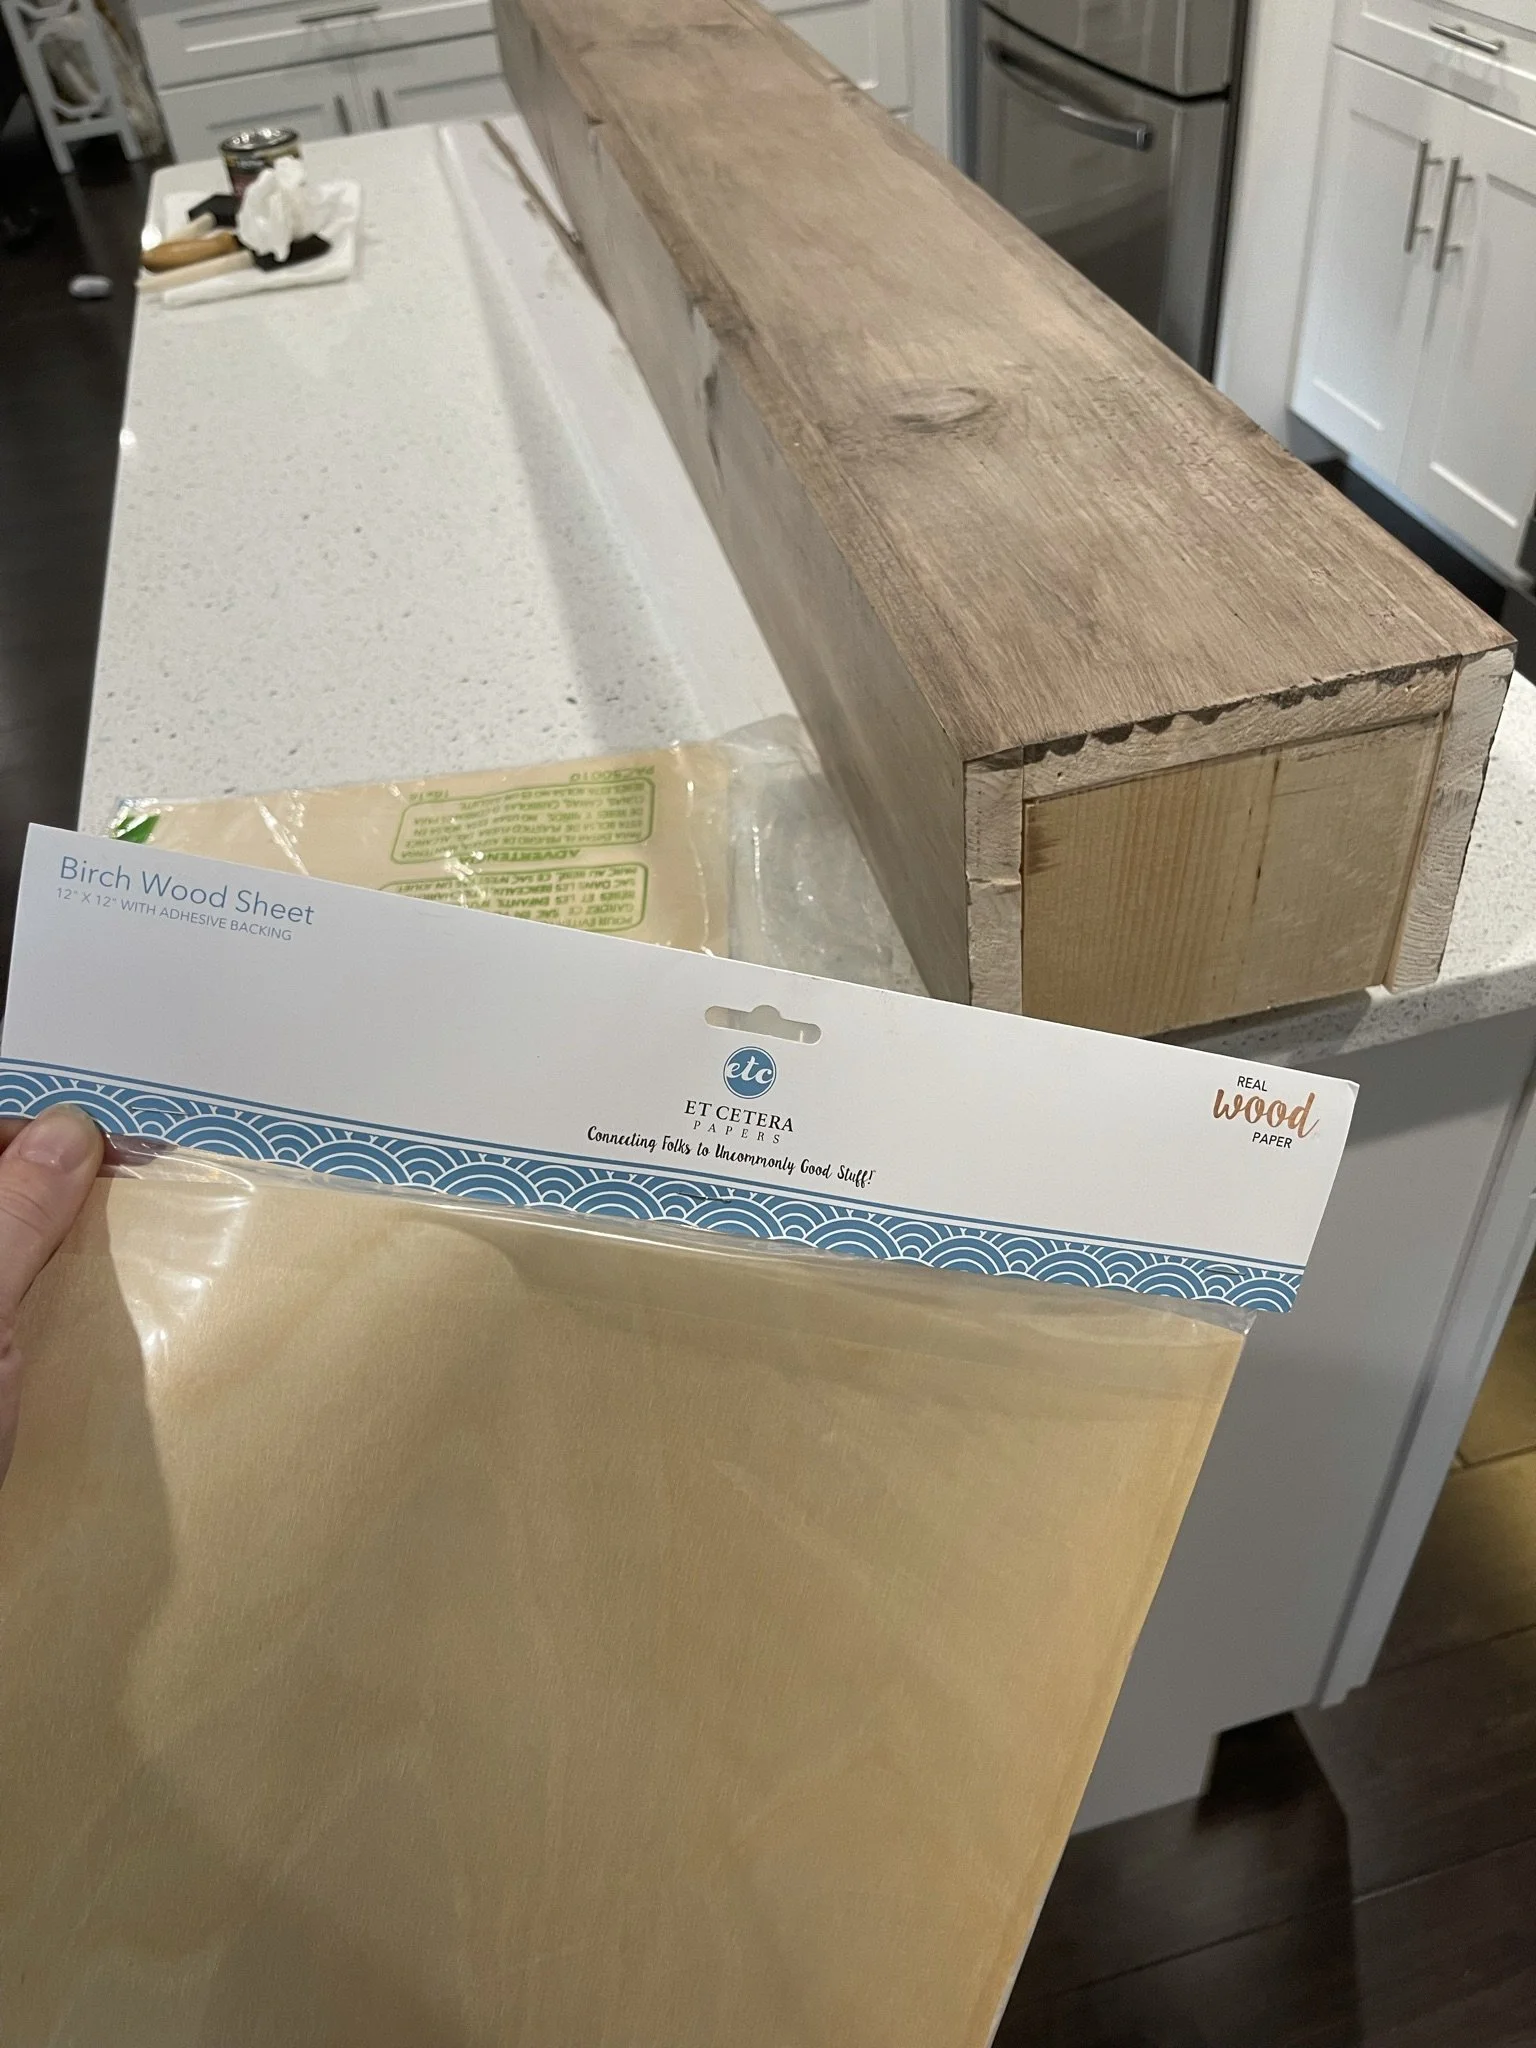
The finishing touch included building my own mantle instead of purchasing one. I used 1x6 common pine boards and used these birch veneer sheets to cover the edges. This magic stain combination provides the perfect “hewn brown” that gives a modern rustic feel. I applied one coat of the whitewash and 2 coats semi transparent cordovan brown to achieve this look. I secured the mantle sides together with my nail gun and wood glue. I attached the mantle to the fireplace by creating 2 smaller studs on the front of the shiplap to nail the mantle down to from the top.
We are so happy with how this project turned out and I am so excited to finally have a mantle to decorate all year long, but especially for Christmas! This project was completed in about week (a few hours every night after work) but could probably be done with two people in a weekend. Let me know what you think in the comments and if you would build one of these in your home!